using games and technology in the classroom!

An experience I remember clearly with gamified learning and teaching was through a summer camp I had the opportunity to work with that offered coding, using Ozobots and tablets. These tiny robots were an amazing combination of creativity, hands-on learning, and technology, demonstrated through various interactive games! 

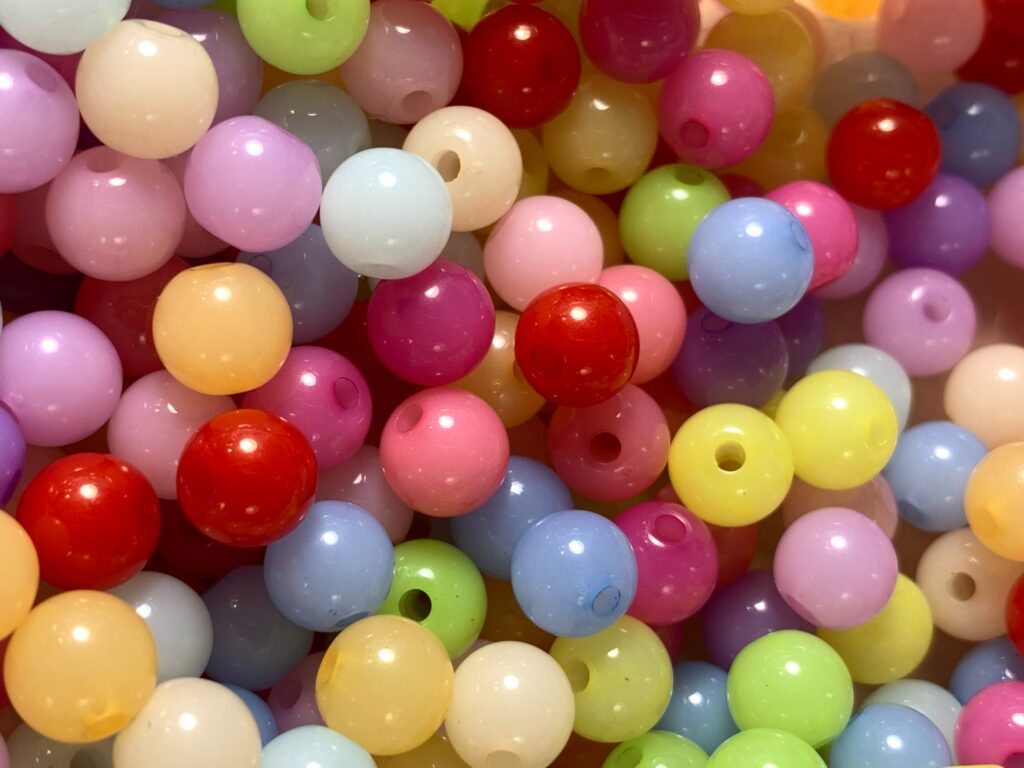
The primary grade students were able to create removable “costumes” for their own robots using craft supplies such as coloured paper, googly eyes, and pipe cleaners! When the students were finished with this craft, there was a clear expression of individuality and personality through their adorable creations!

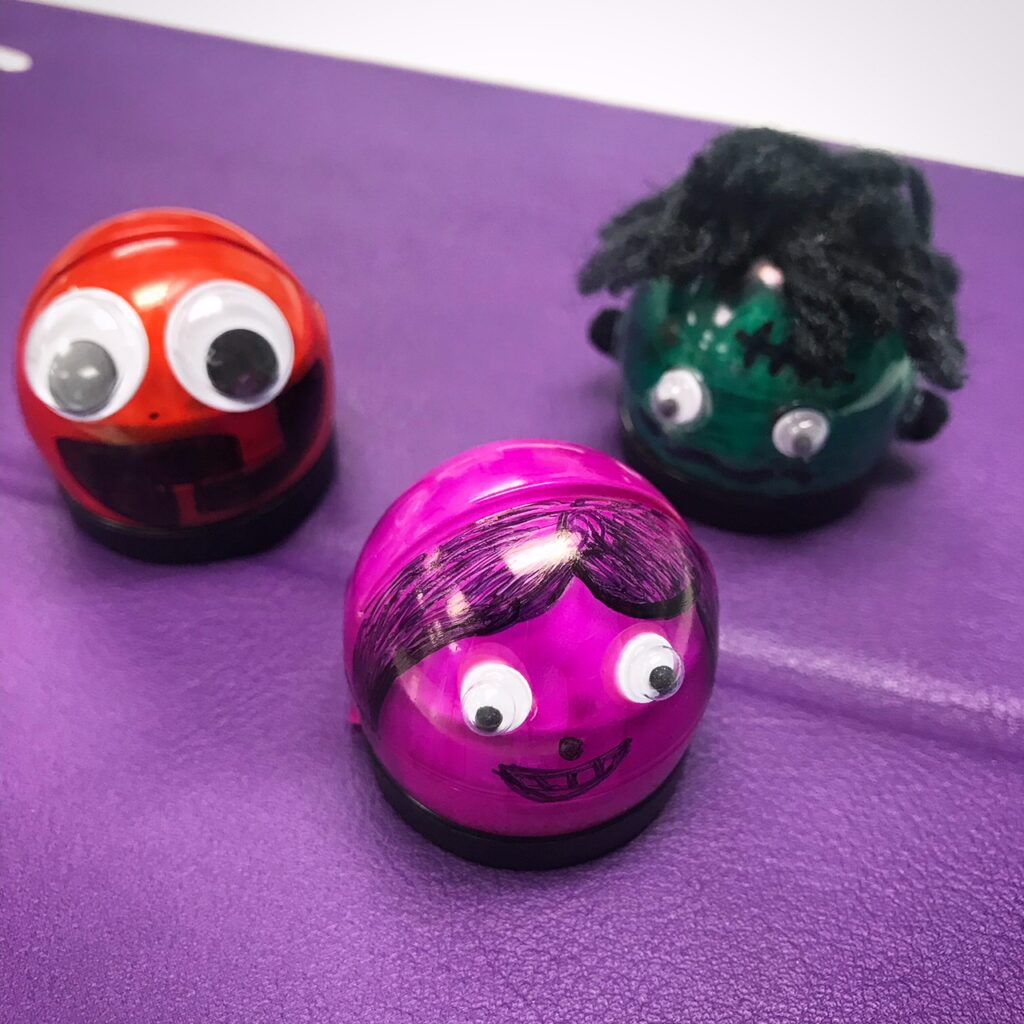
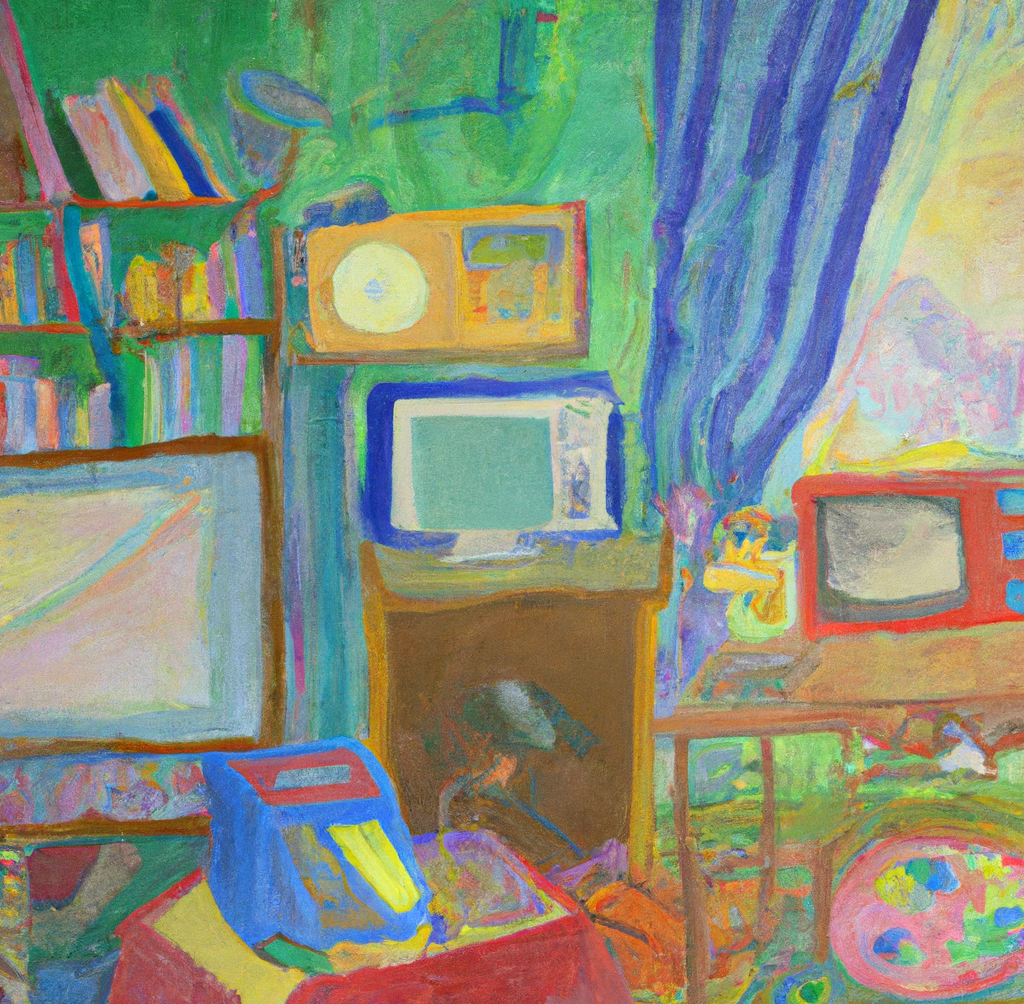
I unfortunately did not capture their particular costumes, so here is an example

Each student was given a tablet with a coding application to program their own pathways, mazes, and races, creating a map for their robots! Despite the young ages of Kindergarten to grade 3/4, these children created many elaborate and engaging paths using black, red, green, and blue markers. This colour-coding aspect was necessary for the Ozobots to use their sensors to accurately follow the lines. This detail was beneficial for motor skill development by teaching the students how to create an effective, useable map as you could not directly cross lines or have any gaps, as the mini robot may become lost. The younger students were provided with stickers displaying a particular code, while older students were encouraged to fill in white squares with the correct colour codes. This adaptation provided accommodations for the varying motor skills in the classroom.

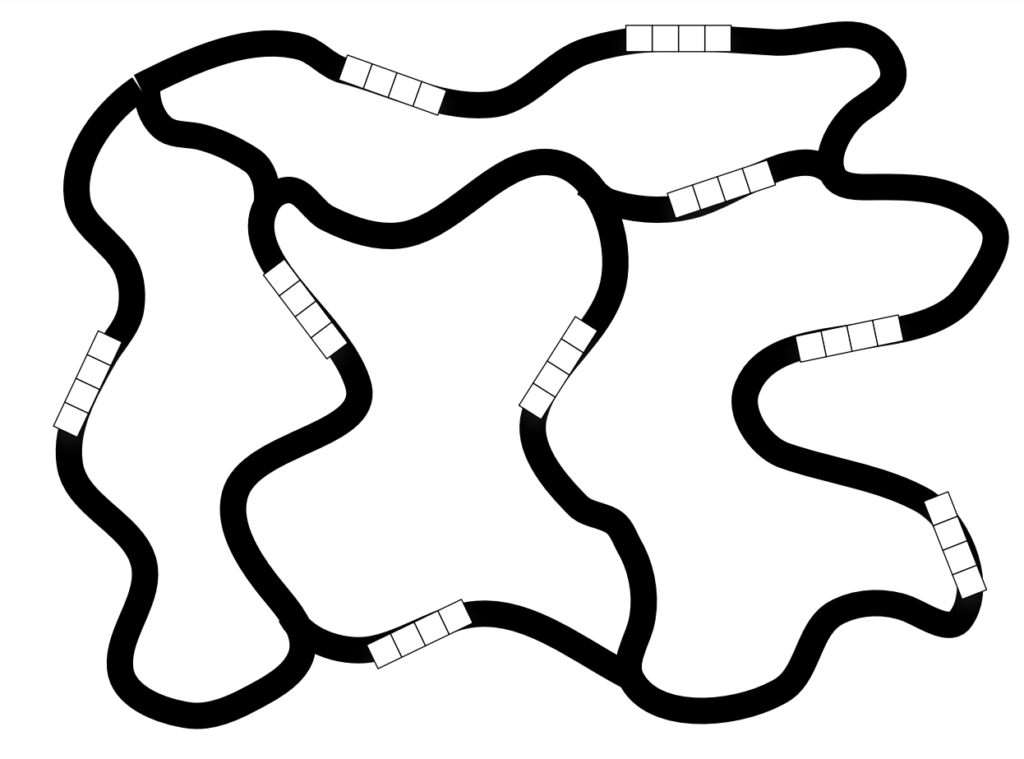
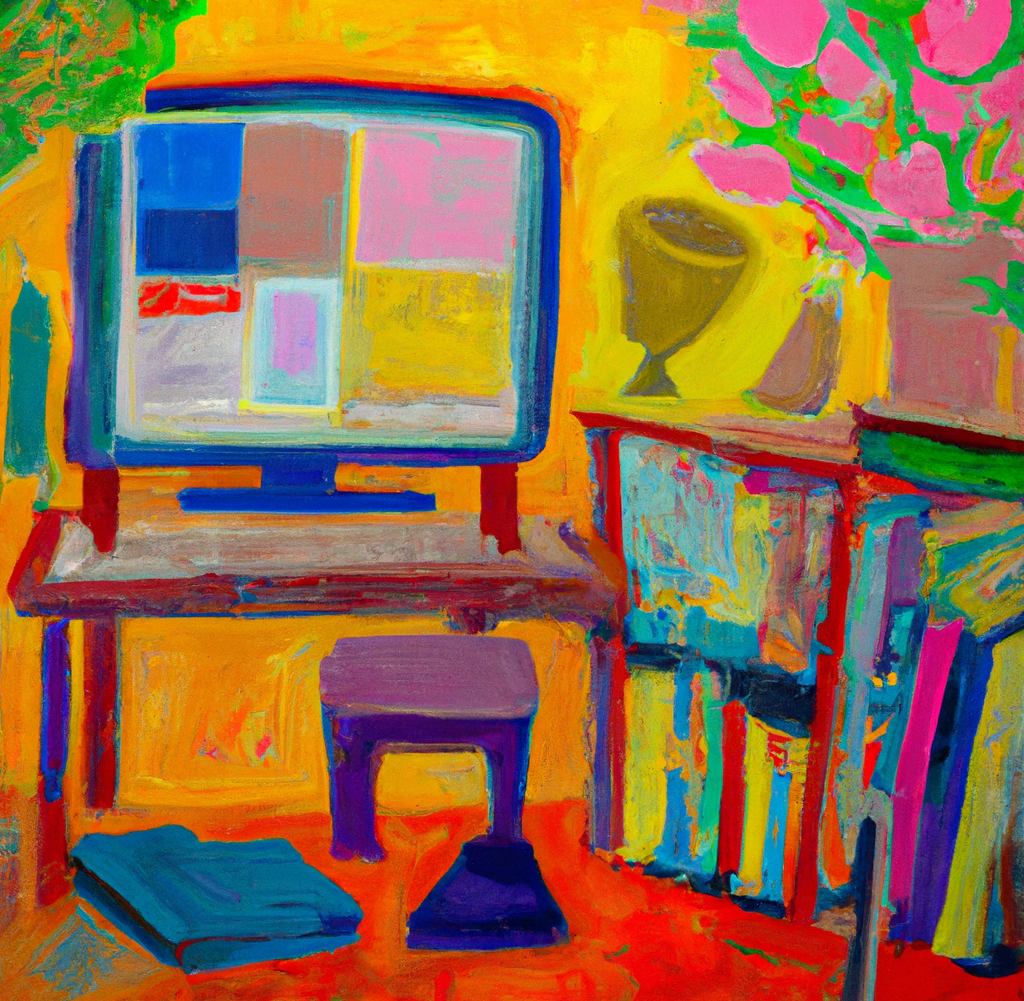
here is an example of what an Ozobot map may look like!

The OzoBlockly programming offered a variety of reactions to the codes, displayed by the bot: light shows, timers, counters, speed, direction, celebrations, and the most popular effect: “Special Moves!” The students LOVED the ability to have their robots dance and spin around in the middle of their journey. 

These little robots were a highlight of my experience with this camp, as they provided the students an outlet to learn coding in a tactile, gamified, and understandable way while implementing personalization and creativity!

the connections between technology, identity, and inclusion

Today, our class had a warm, welcoming, and interactive presentation from two guest speakers about the connection with technology, identity, and inclusion in a classroom environment. The guest speakers were with BCEdAcecess. This organization serves neurodivergent students and kids with disabilities in British Columbia: “All kids deserve access to equitable education”

The speakers implemented menti to encourage an interactive presentation, allowing everyone to express a few words on each subject. Before beginning the slideshow, they presented an expanded, authentic land acknowledgement, opening up a conversation about indigenous learning and identity. The collaborative platform allowed the class to discuss our identity using singular words such as “female, woman, white, white-privilege, educated, LGBTQ, daughter, sister, etc.”

This topic then led into the concept of intersectional identities, with the speakers stating: “[think of] intersectionality as a concept to think about our privilege and identities and how it affects others.” Followed with an enlightening sentiment: “Every child will come into the classroom with an ‘invisible backpack‘…[teachers, parents, and staff also carry an invisible backpack].” This empathetic idea of the “invisible backpack” served as a reminder of the saying: you never know what a person may be going through in their life. This is especially prevalent in elementary grades as students may not have the proper vocabulary to articulate complex feelings, physical pains, or issues in effectively learning.

The link between technology and inclusion was introduced with the reality of inaccessible technology in the classroom. The speakers outlined some issues surrounding this topic: technology/devices are always outdated, equitable access to tech is difficult for classrooms due to financial barriers, and there is no central “keeper of knowledge” at schools—no reliable source of information on how to properly use technology. There is also an apparent lack of communication from schools to home/parents—what’s going well, what’s not, and generally making sure the students are using the technology in a way that supports them. Overall, there is a clear lack of support for educators to equitably and efficiently supply all learners with high-quality technology in the classroom.

This discussion inspired me to research additional classroom resources on how to implement affordable, accessible tech for students. One example is to utilize headphones to offer a text-to-speech function during individual reading if a student has a learning disability such as dyslexia. All students, neurodivergent and neurotypical, deserve access to beneficial technology for meaningful learning and development. “We all have different strengths, so universal access allows for support for all kids.”

artificial intelligence in teaching & learning :)

The focus of this week was artificial intelligence in the classroom, and how AI platforms can be beneficial, or detrimental to teaching and learning.

We’ve learned throughout this semester that Chat GPT, in particular, can be a tool for educators and learners to use for guidance, entertainment, and to “focus on the process of learning and not just the product“—the last point can be difficult for users to grasp since this website generates answers and information in mere seconds. With this in mind, this free platform should never be used to cheat, and its information should not be taken and used as one hundred percent factual. These precautions are intuitive, but even so, I have avoided using Chat GPT until recently as our cohort has begun discussing its efficient and practical qualities for our future teaching careers. 

I want to emphasize an interesting point that our professor outlined in today’s class: the importance of “celebrating humanness” and that AI cannot generate an authentically personal, human response. We should celebrate our opinions, interests, and perspectives in our teaching practices, as this is incredibly valuable and genuine for students to receive.

Thinking back to my initial experience with open AI, I was actually excited to experiment with the visual version: DALL-E! I absolutely love this platform when used respectfully. I love visual arts, but it can be difficult to visualize or conceptualize an image from my mind. It’s a great tool for defining artistic intentions and expanding your creativity. I would never have had the time to paint a small bear working with beads in oil paint (an adorable image I have used on this blog!), but I am so glad to have created that rendition with AI. Like the writing tool, I always try to use this website with respect and patience, always crediting the images it provides since there is a grey area in copyright for all AI-generated content.

To demonstrate my use of this platform, I asked DALL-E to generate a version of one of my favourite paintings, based on my prompt: “an abstract, colourful rendition of Claude Monet’s “The Water Lily Pond“, oil paint.”

This was not what I was picturing in my head, but this is such a cool adaptation of the original! It almost looks like small islands surrounding a waterfall.

This was super fun to play around with, though I am not yet this comfortable with its written counterpart! I hope to find more resources on how to effectively and meaningfully use these platforms as a teacher and learner in the future.

colour-conscious graphics!

This week we discussed the question: “Why might you want to create your own images or graphics for teaching and learning?” While I already have some thoughts on this, it was fun to experiment with image editing and explore the multimedia learning theory!

I have previously posted a graphic that I created on this blog, hinting at the many more projects I have saved in my “resources” folder. I think it’s great to be able to design worksheets, posters, labels, and more for your classroom. It provides a personal touch and keeps your room cohesive in colours and design elements! I started making simple resources during my first year of university since I found it was an effective motivator to allow me to visualize my future learning and teaching environment.

While creating various designs, I learned to be conscious of designing full-colour resources. This idea was reiterated in our class today, as Michael stressed the importance of being conservative with ink usage due to printing costs. Another option is creating a colouring-sheet type of resource, with white designs outlined in black that students can personalize with crayons or any suitable art medium. A friend who works with an older age group at a local middle school also gave me the idea of adding a blank box/area for the students to be able to draw right on a worksheet! These drawings should be related to the content, but regardless, it’s a wonderful opportunity for creativity and a “brain-break” for tired or burnt-out students.

Relating back to coloured resources, I have lots of re-designing to do when it comes to actually printing my premade resources. For example, I’ve put together a series of alphabet posters. These are in full colour, from the background to the little image representing each letter! Now, I think I could convert these to black and white colouring sheets for the students to colour in however they like—this would be amazing for the beginning of the year! It could be an opportunity for social collaboration and getting to know the students. I could also print these images on coloured construction paper, and draw an image over top. There are so many ways to avoid exuberant printing costs, and those are just a couple that came to mind!

a sample of my simple alphabet posters—the graphics can be found here!

This discussion served as a reminder for me to keep creating resources and speaking to my mentor teacher and peers on ideas for these designs or what elements work in classroom settings of any grade!

multimedia in the classroom

Today, our guest speaker led a lesson on the multimedia learning theory and on teaching with the dual-coding theory. I enjoyed this lecture since it contained practical information and advice for our classrooms. It also spoke to a personal interest I have mentioned in fostering a creative and adaptive educational environment.

The dual-coding theory proposes that information is processed in both visual and verbal codes, suggesting that students have two separate cognitive systems for learning. For teaching with the dual coding theory in mind, educational videos and websites like Brain Pop, read-along storybook videos, and simple documentaries of animal behaviours are beneficial. This theory rings true for me, so it was interesting learning about how the concept is defined and illustrated on various educational platforms.

photo created on DALL • E “represent multimedia in the classroom, colourful”

After researching the theory, I realized my practicum classroom has benefited from it, with a video on ecosystems implemented into a science lesson. Since the classroom is split into 2nd and 3rd grade, the second graders had a lesson on frogs, while the older students had a lesson on complex ecosystems as a whole. After their lessons and individual work, the entire class was shown an engaging educational video reiterating the organization of ecosystems. Even though the younger students had no prior knowledge of ecosystems in a structured setting, they all enjoyed the video, and they will likely remember some concepts when they need to recall this information next year!

My L2P mentor teacher for this practicum has been very helpful, providing me and my teaching partner with lots of resources and lesson plan ideas. For the science lesson above, she utilized GenerationGenius.com. There are videos, lesson plans, teacher guides, and more! I knew there were educational videos on the internet, but this website is indispensable since it centralizes all of the resources into one platform. On top of this, GenerationGenius has a level of quality assurance that can’t be guaranteed with a user-generated website such as YouTube, as there’s always a risk of inappropriate content and unpredictable autoplay.

photo created on DALL • E “represent multimedia in the classroom, vibrant

Seeing this excitement for science in an elementary classroom was wonderful. I am hoping to create a general guide for my own lesson plans to implement illustrations and engaging videos to help students with meaningful and effective learning through this theory. I appreciate this style of teaching and learning—I am constantly thinking of ways to integrate interactive means of learning and fostering a fun classroom environment.

Plus, everyone loves when a film is played in class!

interactive teaching resources!

Resources for teaching and learning can be found anywhere, from books to social media to specific teaching websites. Since the internet is an infinite platform of information, I like to use Pinterest to organize teaching and classroom resources, ideas, and websites that are effective for an elementary classroom. With this visually informational website, you can create private “boards” for each unit, organizing specific resources within each board into “sections”. It’s easy to find these resources, as I can use the search feature to look up exactly what I need.

Instagram is another useful platform for teaching resources. I usually have to do a bit more research, but when I find and follow a professional page that provides resources and teaching content that I enjoy, new ideas will pop up as they post new material—provoking inspiration for my own creations. Since Instagram is a somewhat personal platform, it motivates future teachers with exposure to “real-life” classroom environments, ideas, and (usually free) resources.

I love doing graphic design, so finding resources for inspiration rather than a direct download works best for me. I have created classroom designs throughout the last couple of years, including a number line, organizational labels, and various colourful posters. However, this takes time, which I had a lot more of before starting university. I am sure when I have a classroom of children to teach every day I will have print-ready resources at my disposal.

When looking into downloadable resources, from worksheets to posters, I find I like them to be editable. This is easier than creating a graphic or assignment sheet from scratch, while still providing room for creativity and individuality in my classroom. Creating interactive posters and objects (like reading buddies) encourages a safe, community-oriented space. Oftentimes students are not comfortable speaking up, so this environment can allow them to have their own voices without feeling vulnerable in front of their peers. An example of this is a feelings chart.

This was not my idea, although I knew I had to create my own when I saw it here. Having a lesson on emotions and personalizing this feelings chart is ideal, so I also created a format where students could draw their own emotions. I would supply this in a designated area of the classroom where students can sit quietly, read, play with stress-relieving toys, and reflect on behaviours in a calm and meaningful way. This chart allows individual students to self-evaluate their emotional state without a public penalty for acting outI also love the interactivity of this chart, it can be used at home or in the classroom to express feelings with the teacher if they don’t want to talk about it. This is a wonderful alternative to escalating an issue that could result in a meltdown.

this cute turtle from jellycat is what I am picturing for the idea below!

Another idea that would be great for younger elementary grades is the Tattle Turtle. This may reduce the amount of unnecessary tattling. He also doubles as a very easy class pet! I love this concept, but to be honest, I know lower grades will use this as a place to write ANYTHING. This is still encouraged, as it allows for a safe setting for students to submit questions, ideas, and even their “feelings chart” sheet from above! I am sure you could get creative and use any animal and create an alliteration, like a Tattle Teddy—I just love the idea of a message box as a form of communication throughout the school year. I would of course have a lesson before introducing them to the Tattle Turtle, explaining what IS and IS NOT tattling, and what should be told to me directly for student safety and socialization.

I’m excited to continue looking for more effective, engaging, and easy-to-use resources for future classrooms!

my initial thoughts

Before starting Technology and Innovation in Education, I thought the lectures would focus on learning specific computer programs for our future classrooms. After the first lesson, it became clear that this course emphasizes creativity and experimentation. We will be learning and practicing the ability to adapt with technological advancements and teaching an understanding of technology as it changes throughout our careers. Individualizing learning seems inherently creative to me, as it engages the students and motivates them to learn the material effectively and purposefully.

photo by markus spiske on unsplash

My first impression of the Free inquiry project was a mix of excitement and anxiety. While looking through the provided examples, I knew I couldn’t just focus on bettering a pre-existing skill or hobby. I had to create something. I wanted to start something new based on my desire to connect learning and teaching with creativity, rather than just following the curriculum. 

I am familiar with painting, so my mind immediately went to two-dimensional forms of visual art. However, I needed to try something new, so I thought back to my creative beginning. Jewellery! My experience with jewellery-making started when I was about 5. I remember my sisters and I had an enormous bucket filled with various plastic beads and elastic string. I would make bracelets, rings, necklaces, or anything I could tie in a knot. 

photo by rea tekoro on unsplash

Starting this project is daunting. Even with the narrowed path of “jewellery making” there are still endless possibilities of colours, styles, materials, and techniques. It seemed so much simpler with my string and bucket, but I am so excited to start creating and documenting how my style evolves throughout the process.