a colourful ending :)

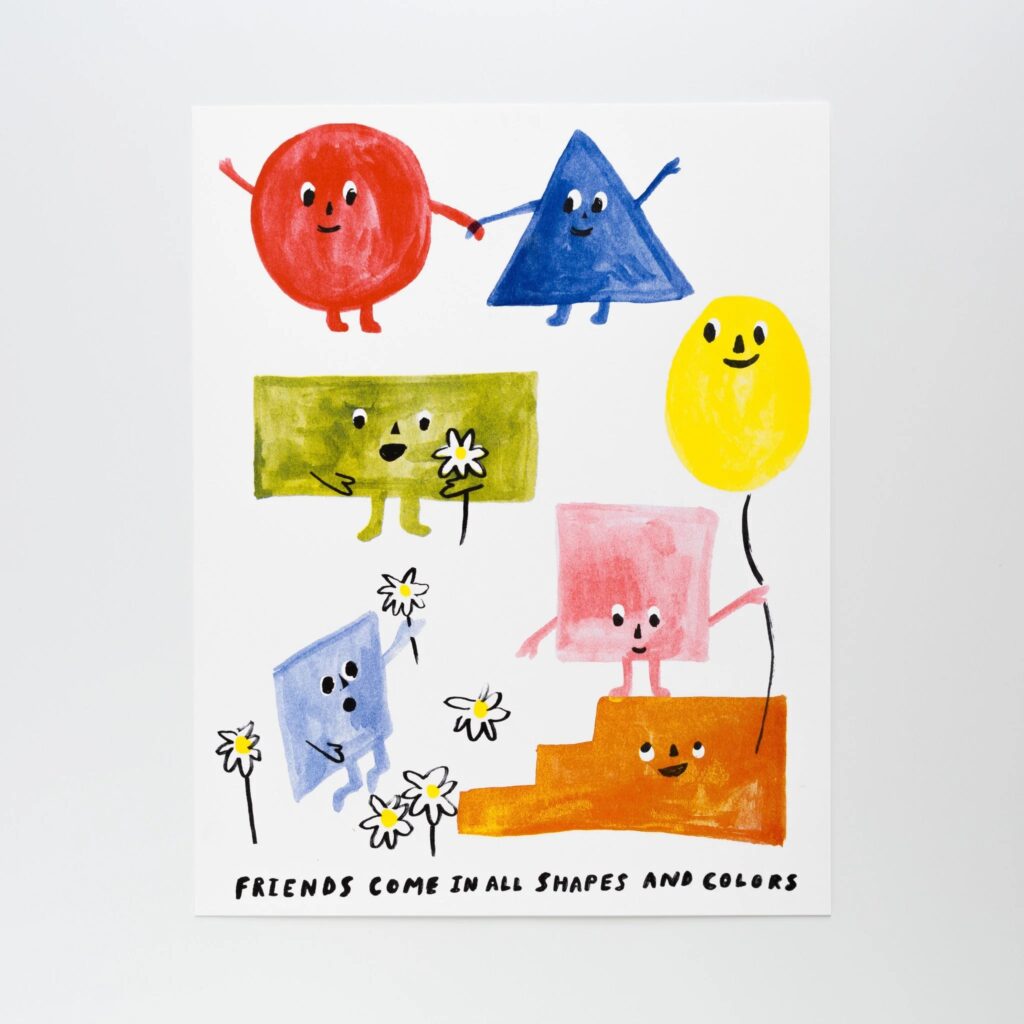
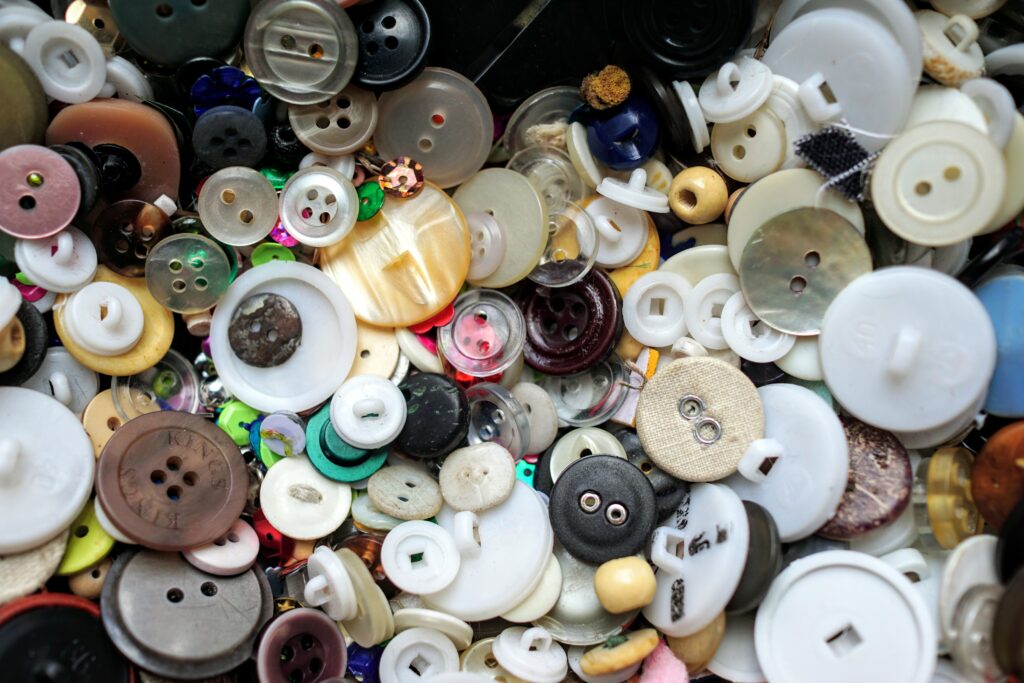
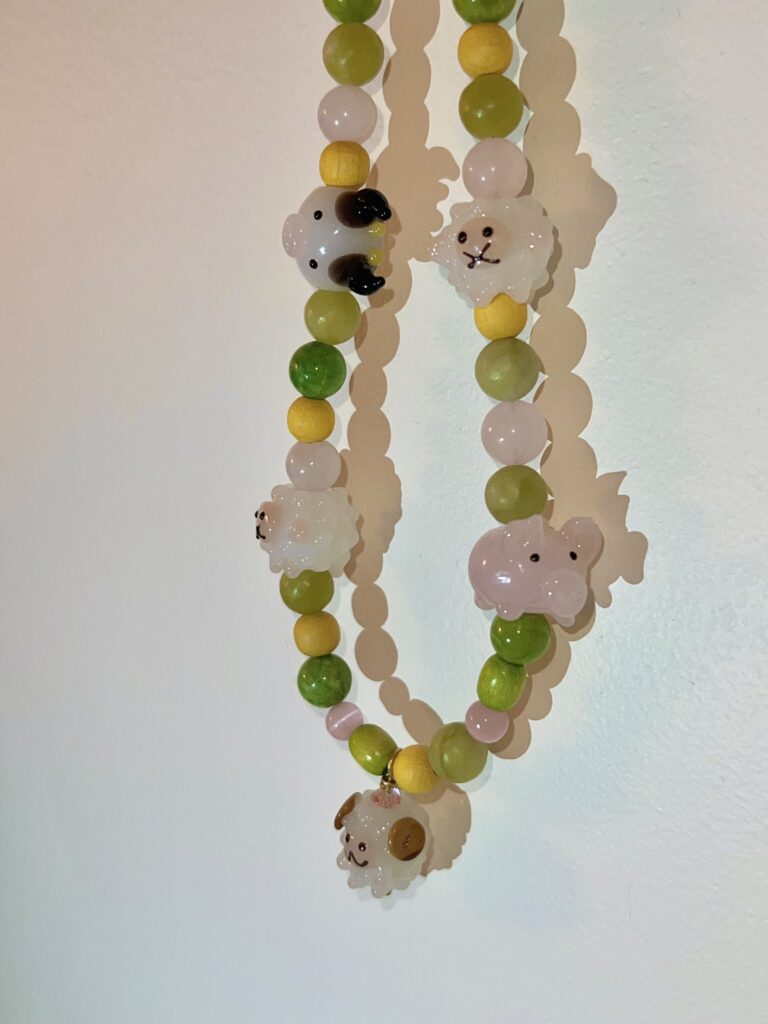
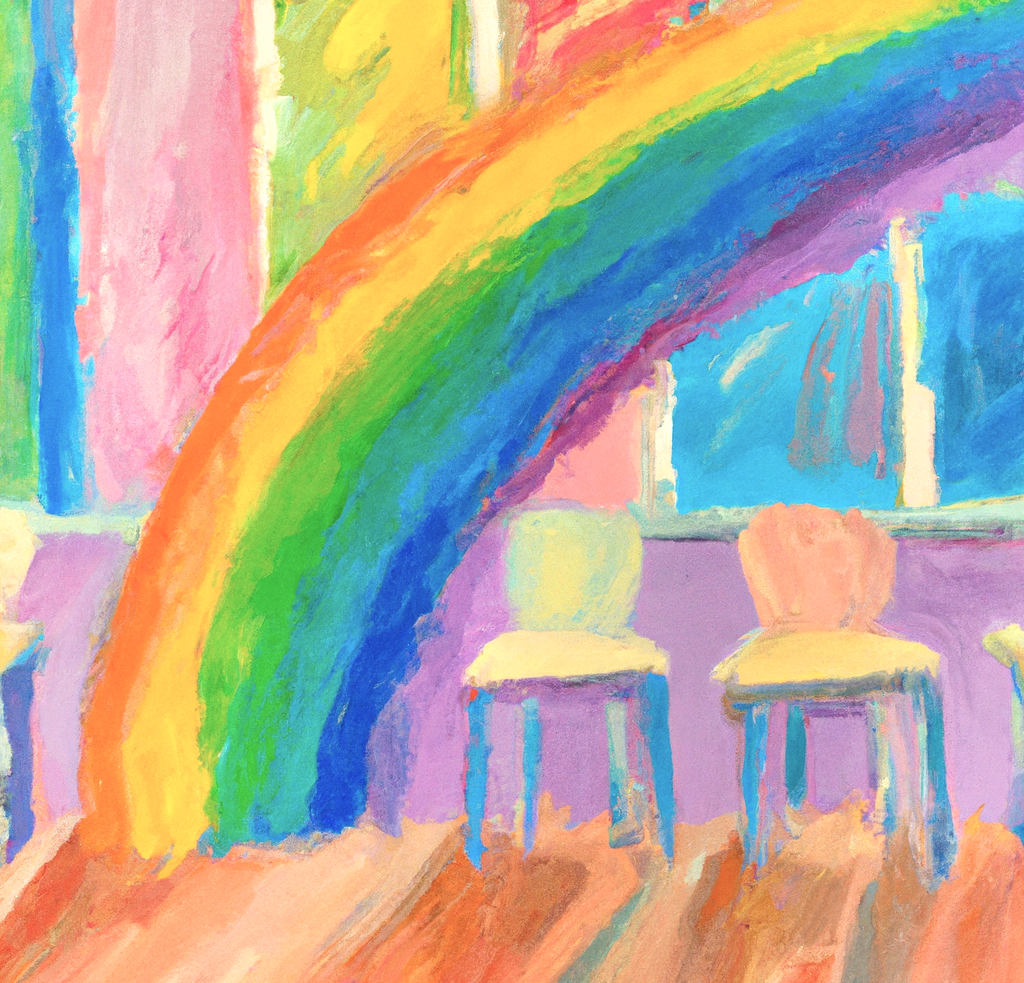
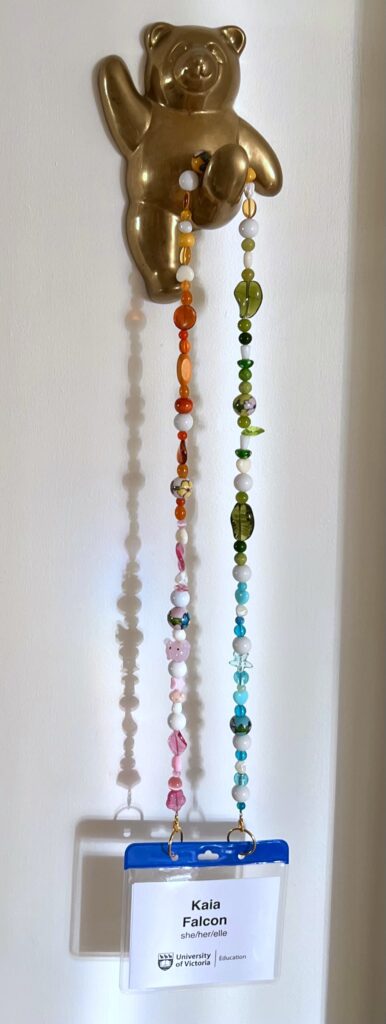
As I was designing my last piece of jewellery, I aimed to end the term with an elementary-oriented necklace—full of colours and shapes! In planning a rainbow of colours, I sourced various elements (wood, glass, plastic) to incorporate as many finishes as possible, as light has a significant effect on our perception of colour! For example, wood is more matte than a glossy glass bead, so it will reflect less light and appear duller or darker. Once I created this eclectic collection of beads, I referred to my original sketched design for reassurance on my chosen materials. 

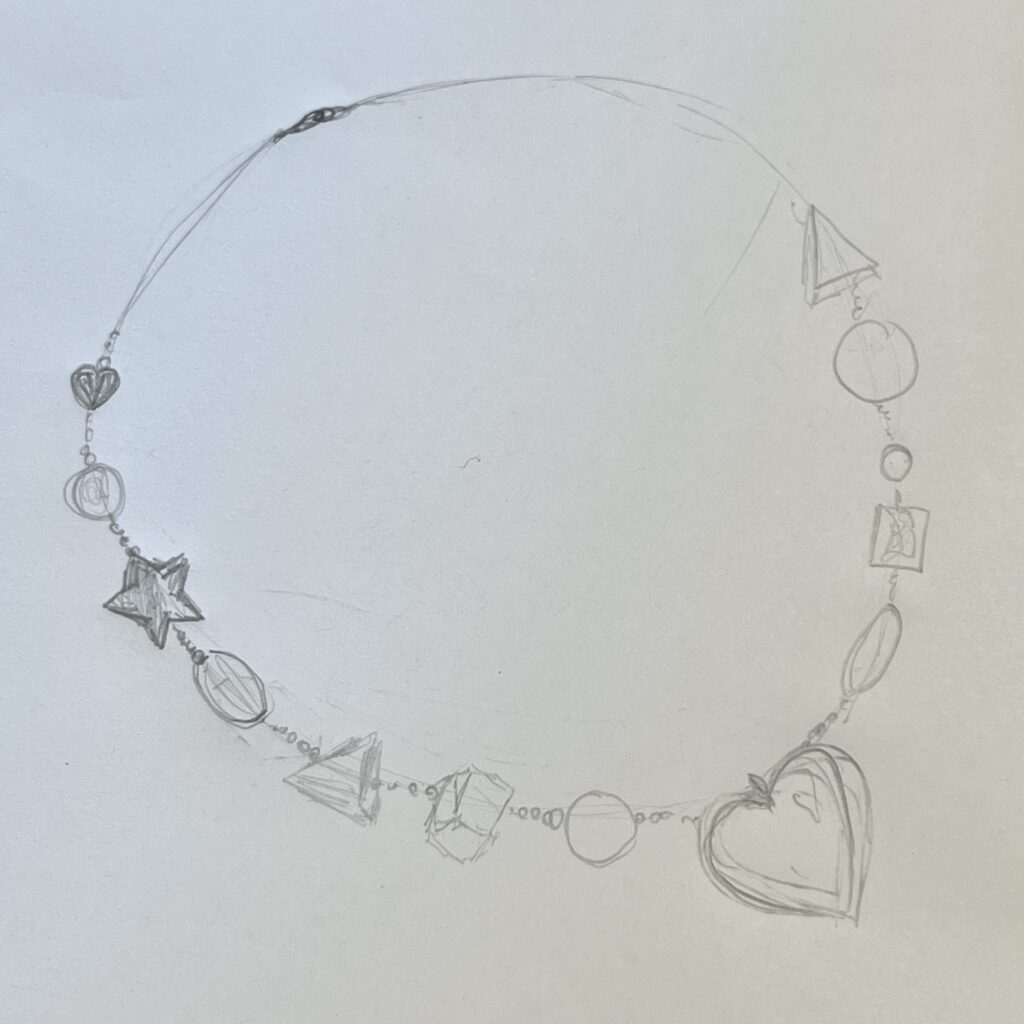
my rough sketch for this colourful necklace featuring seed bead separations and the primary shapes!

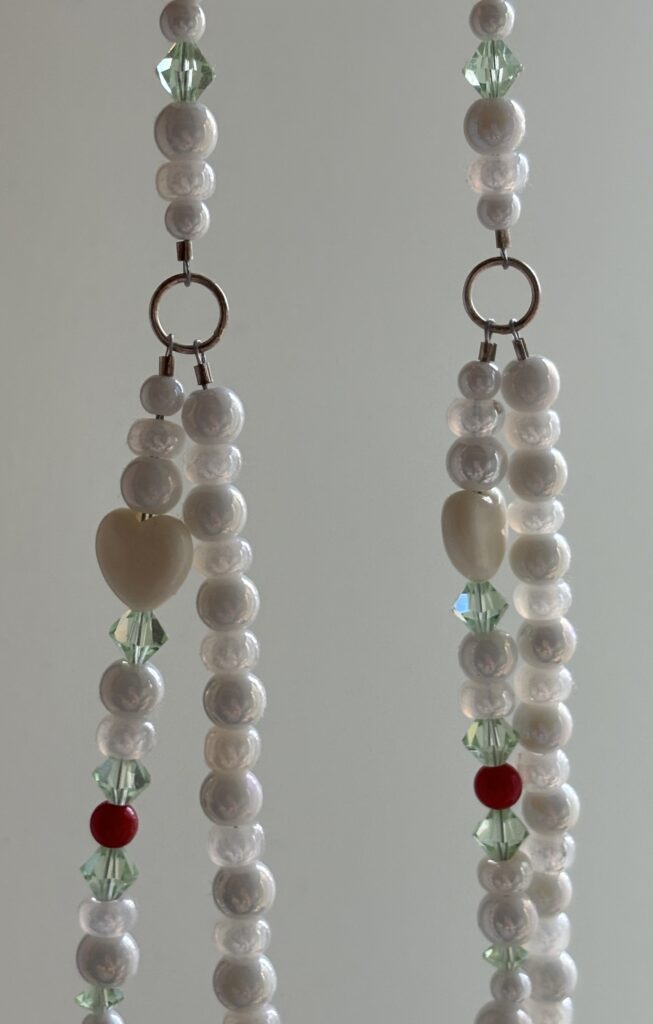
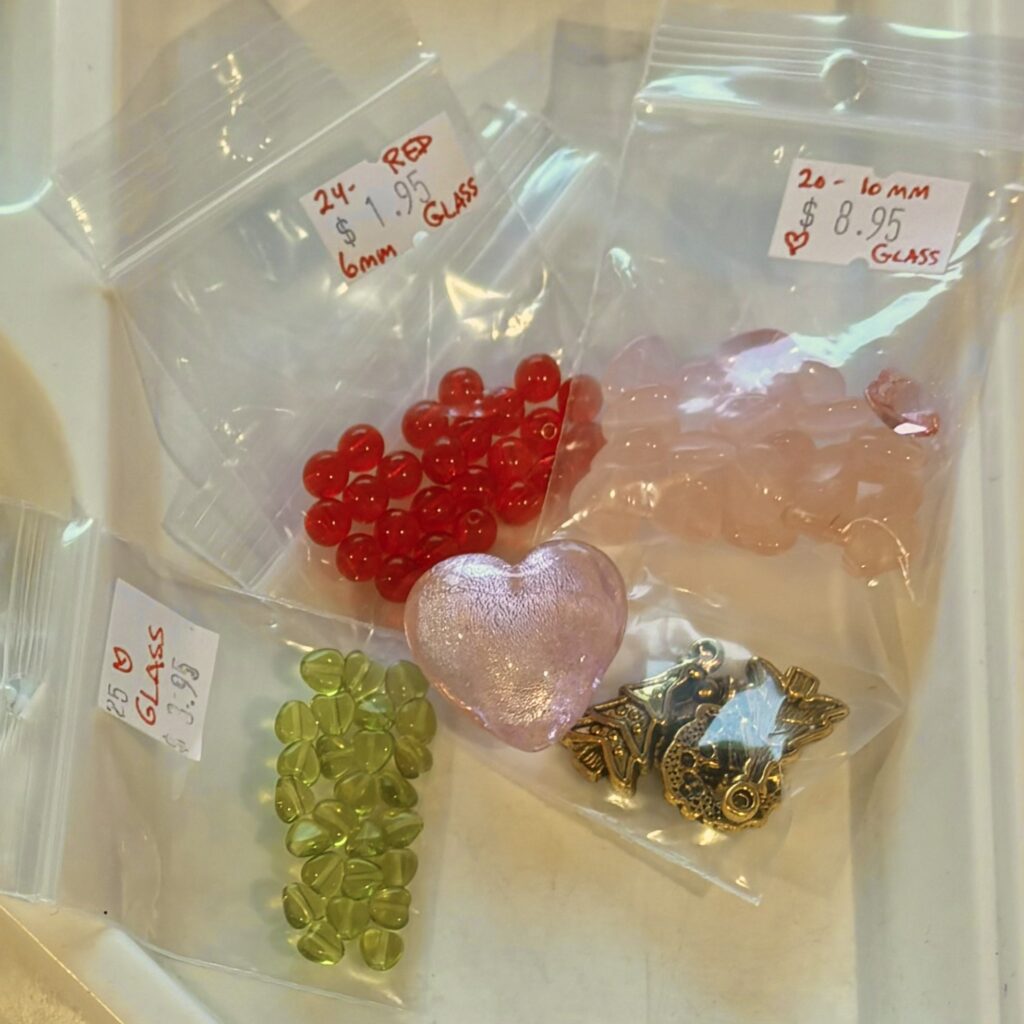
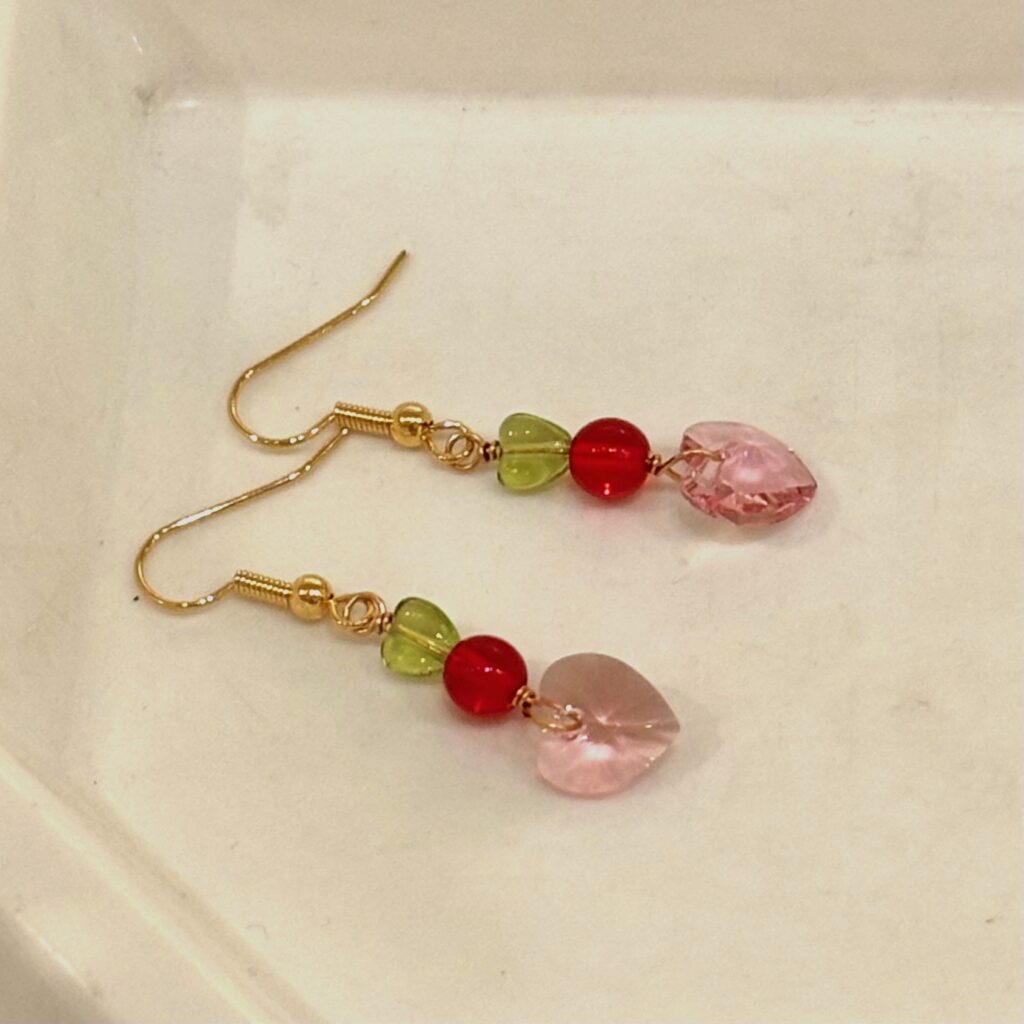
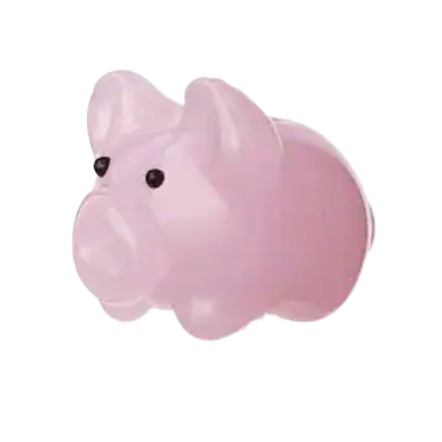
My original idea included an oversized heart charm as the centrepiece, which I sadly omitted as I could not find a yellow heart at any local bead shops. However, I can always add this imaginary charm later!

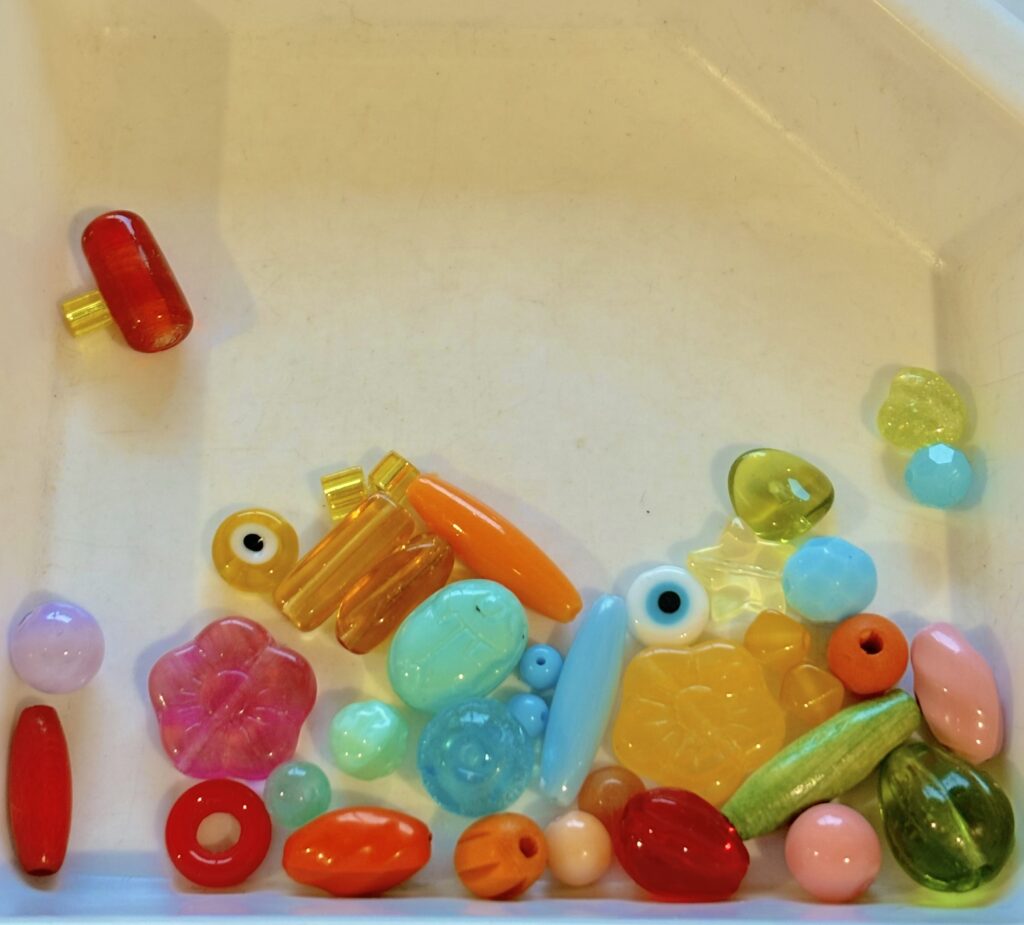
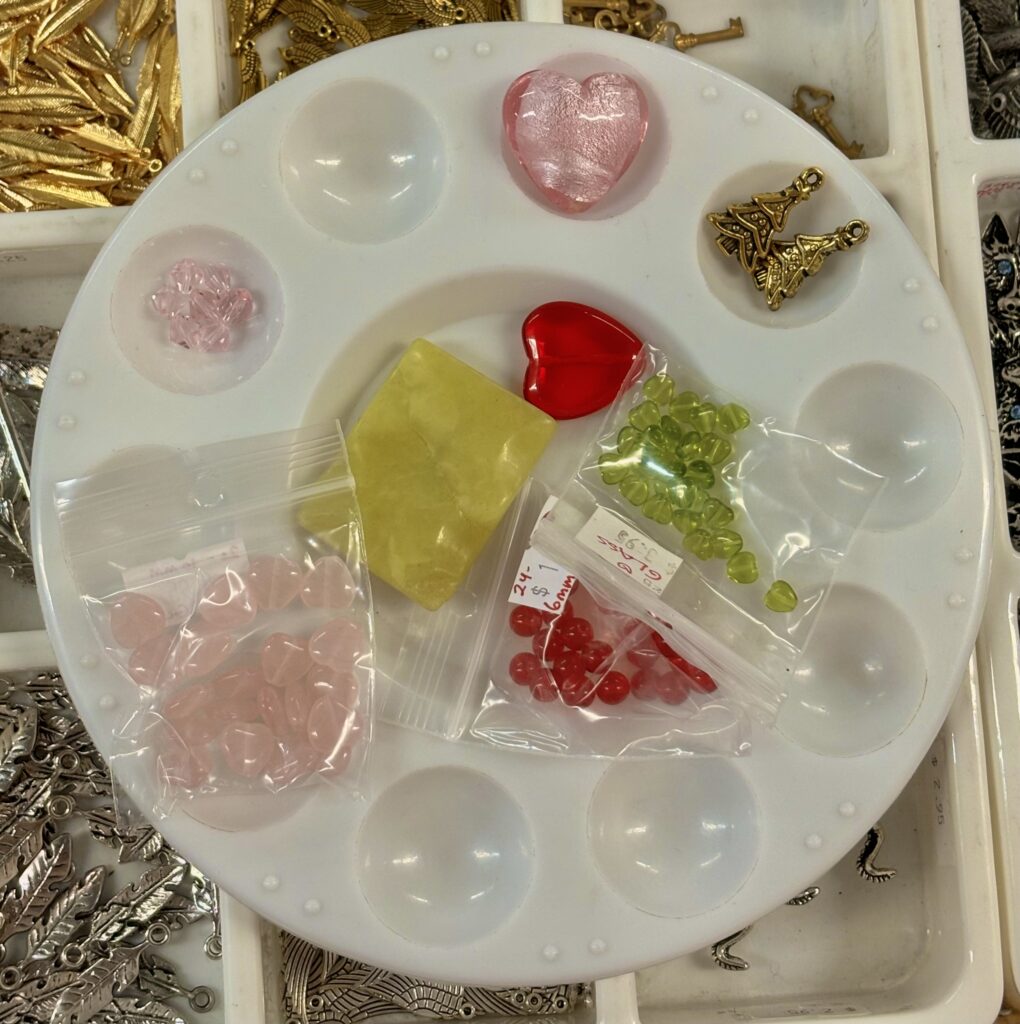
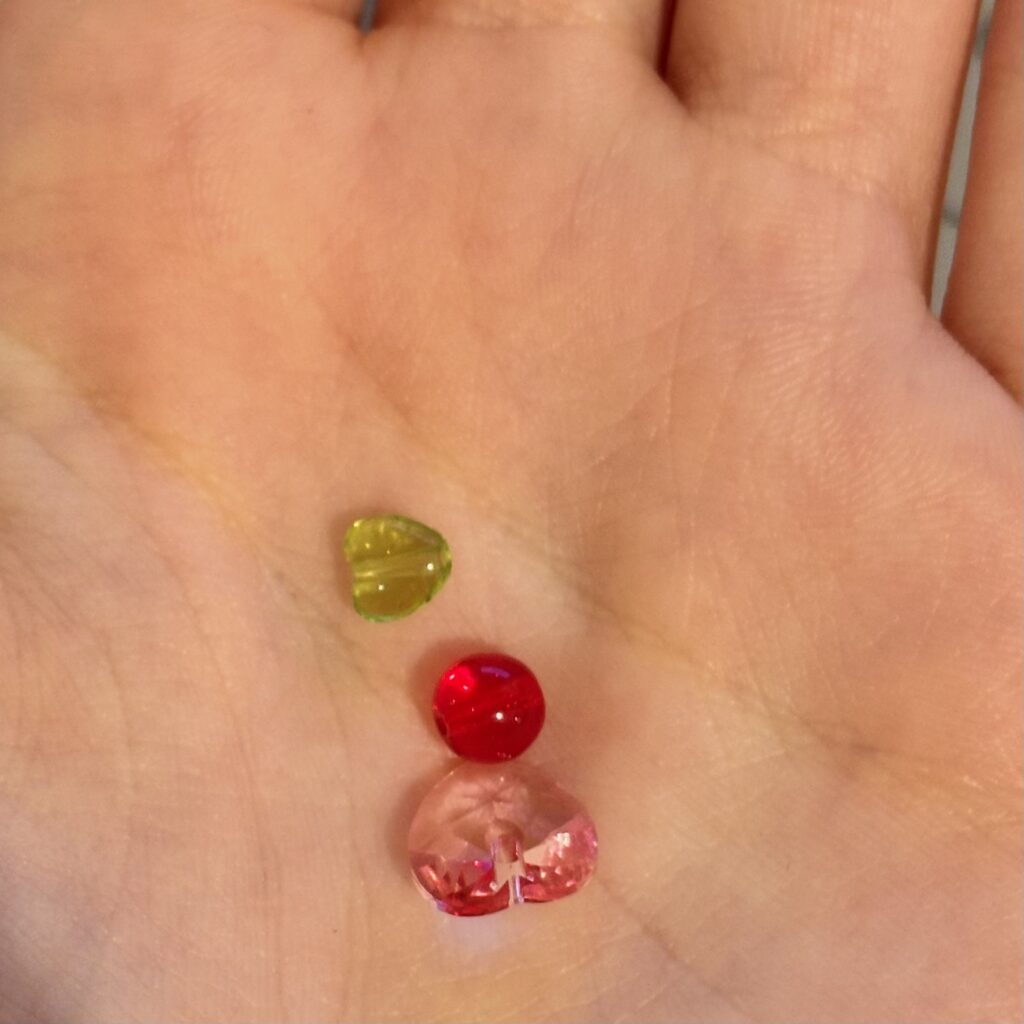
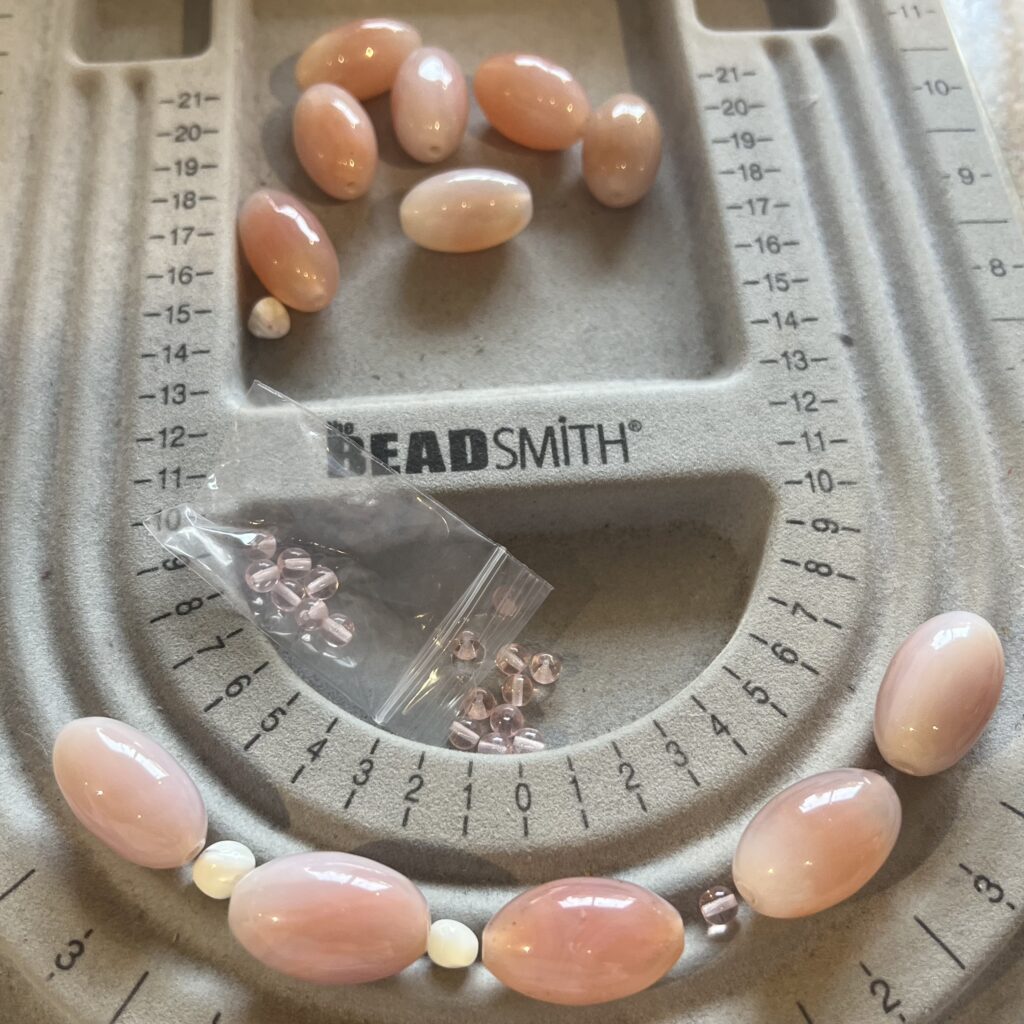
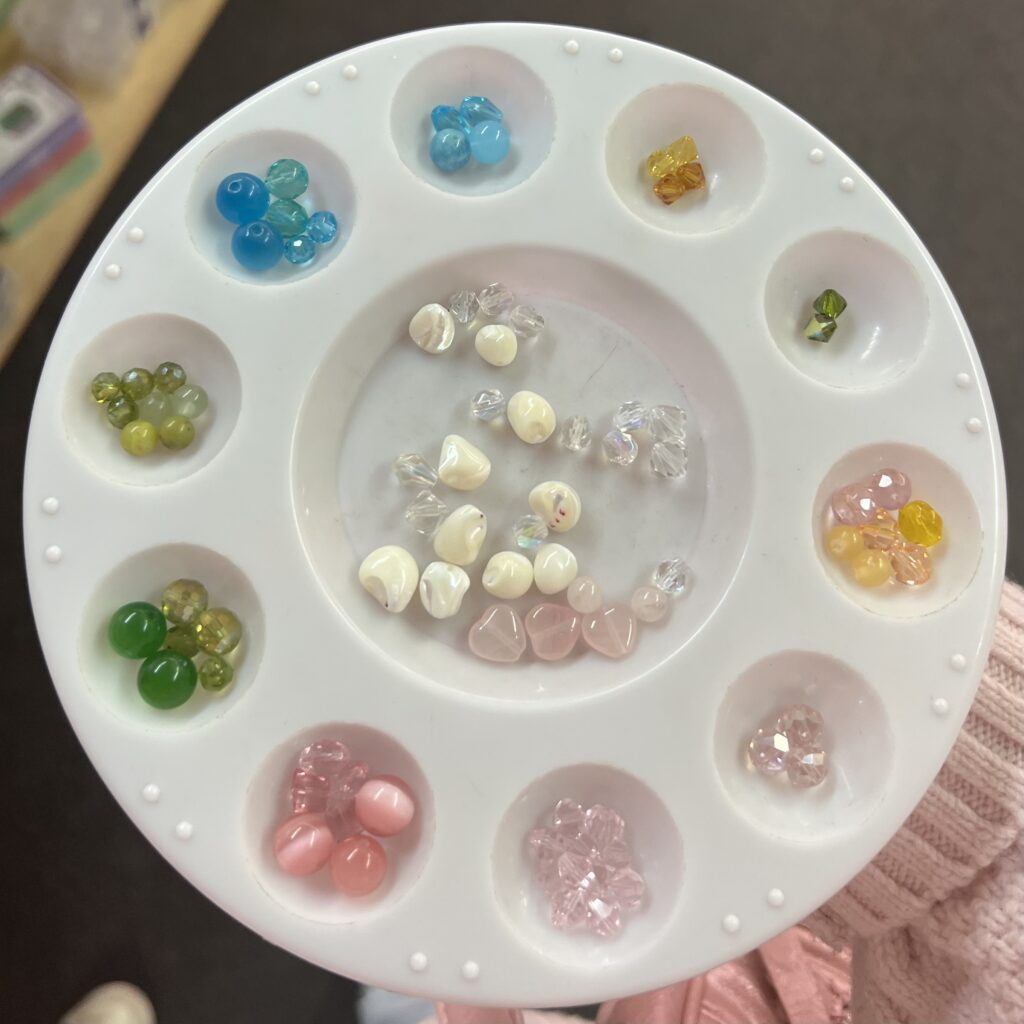
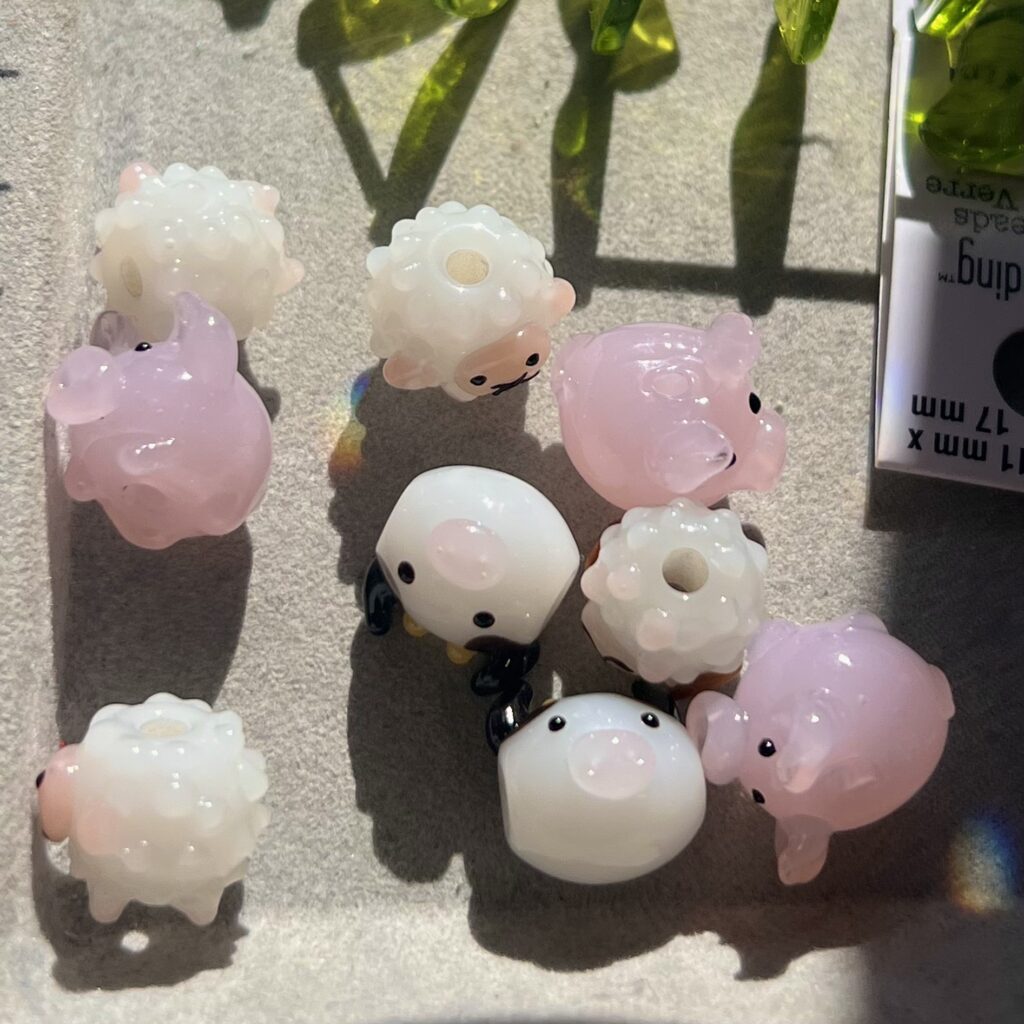
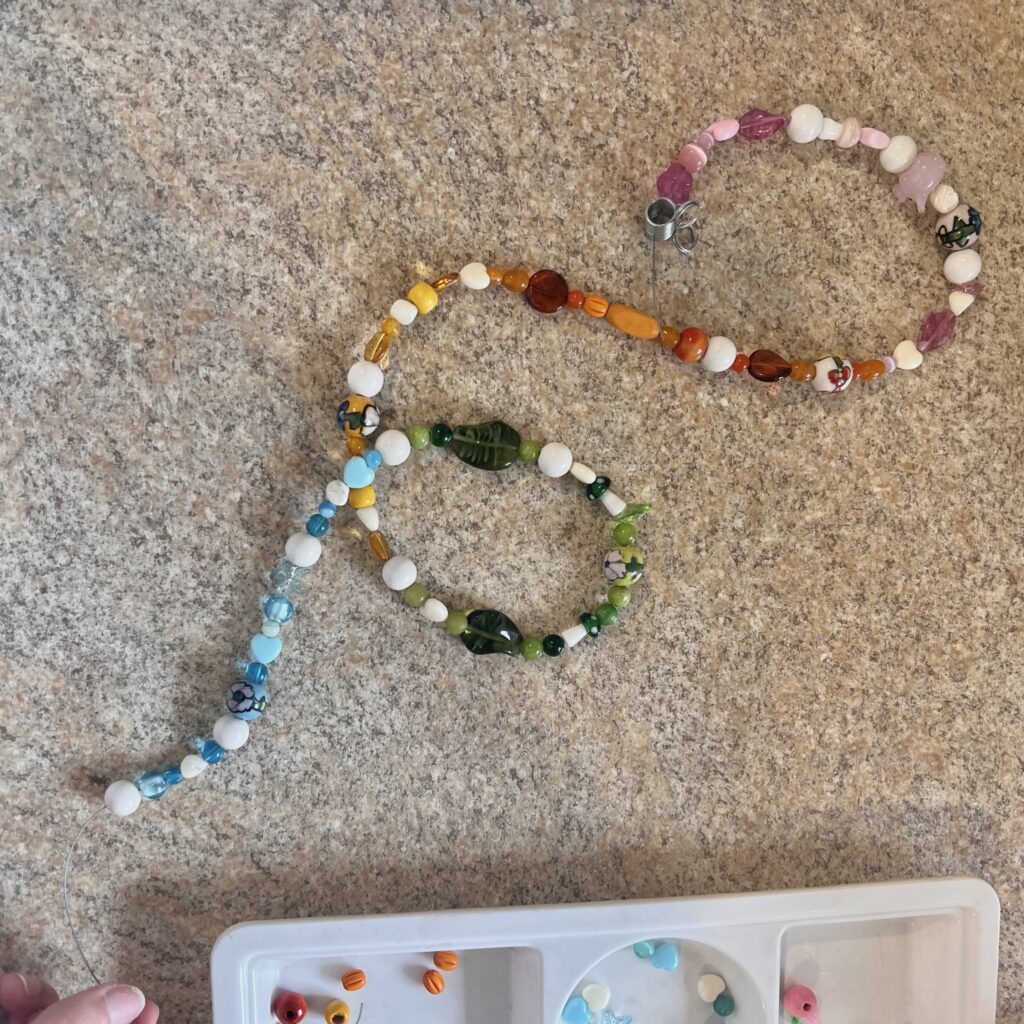
the various beads before organizing the pieces by colour—pink, red, orange, yellow, green, cyan, blue!

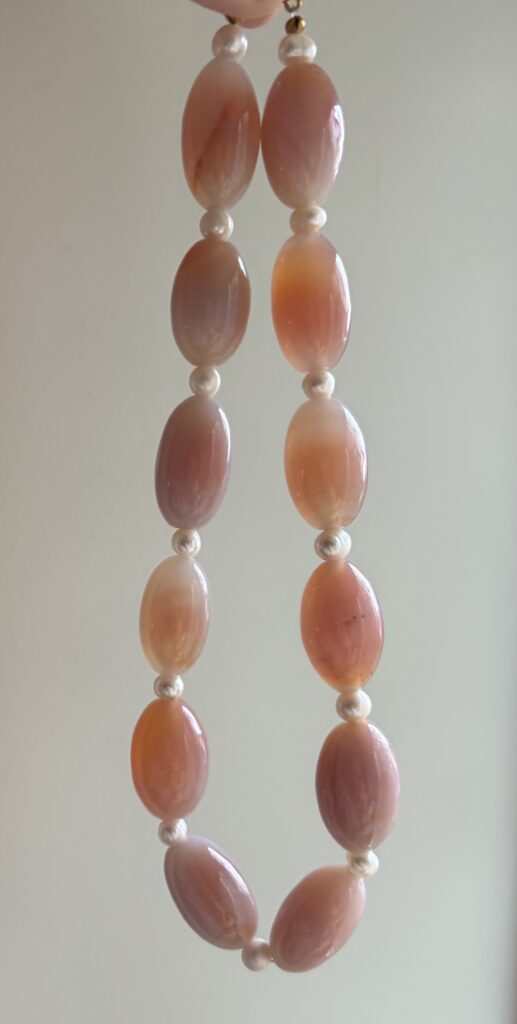
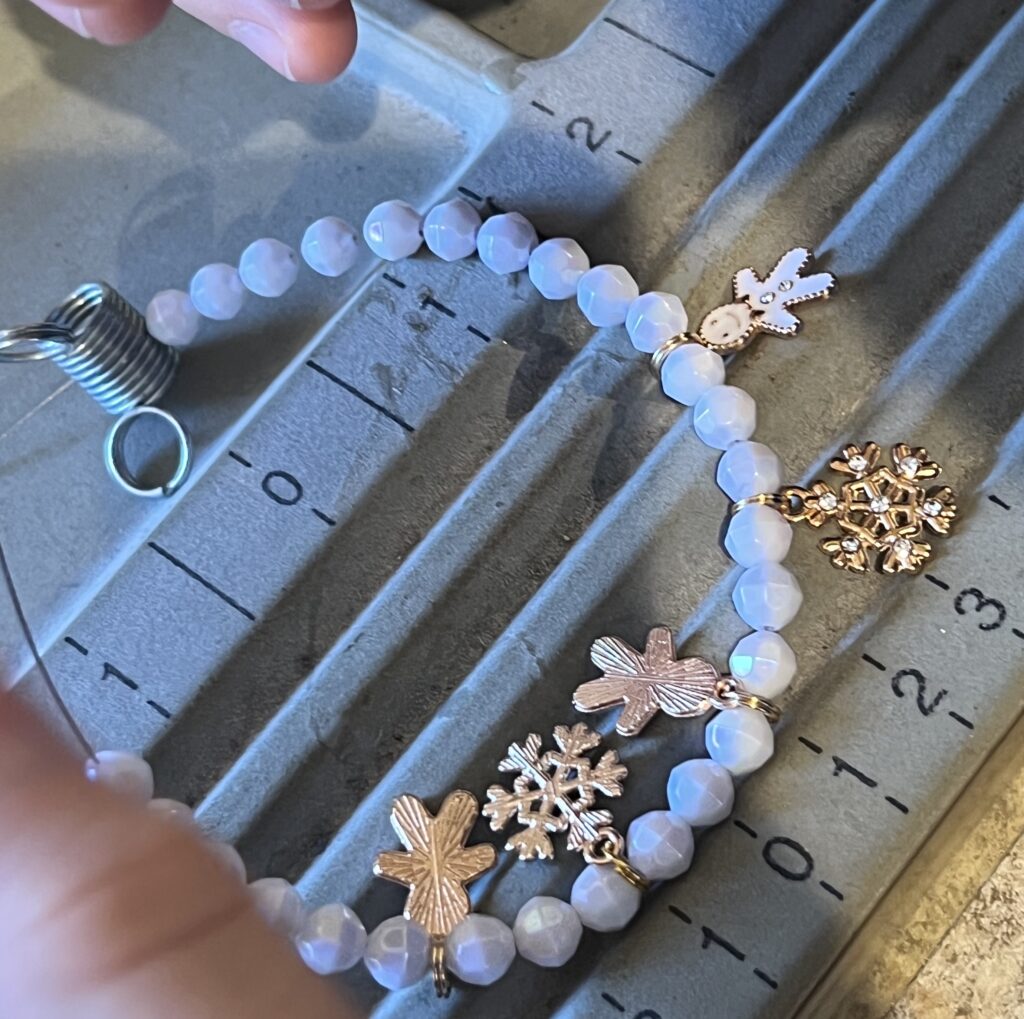
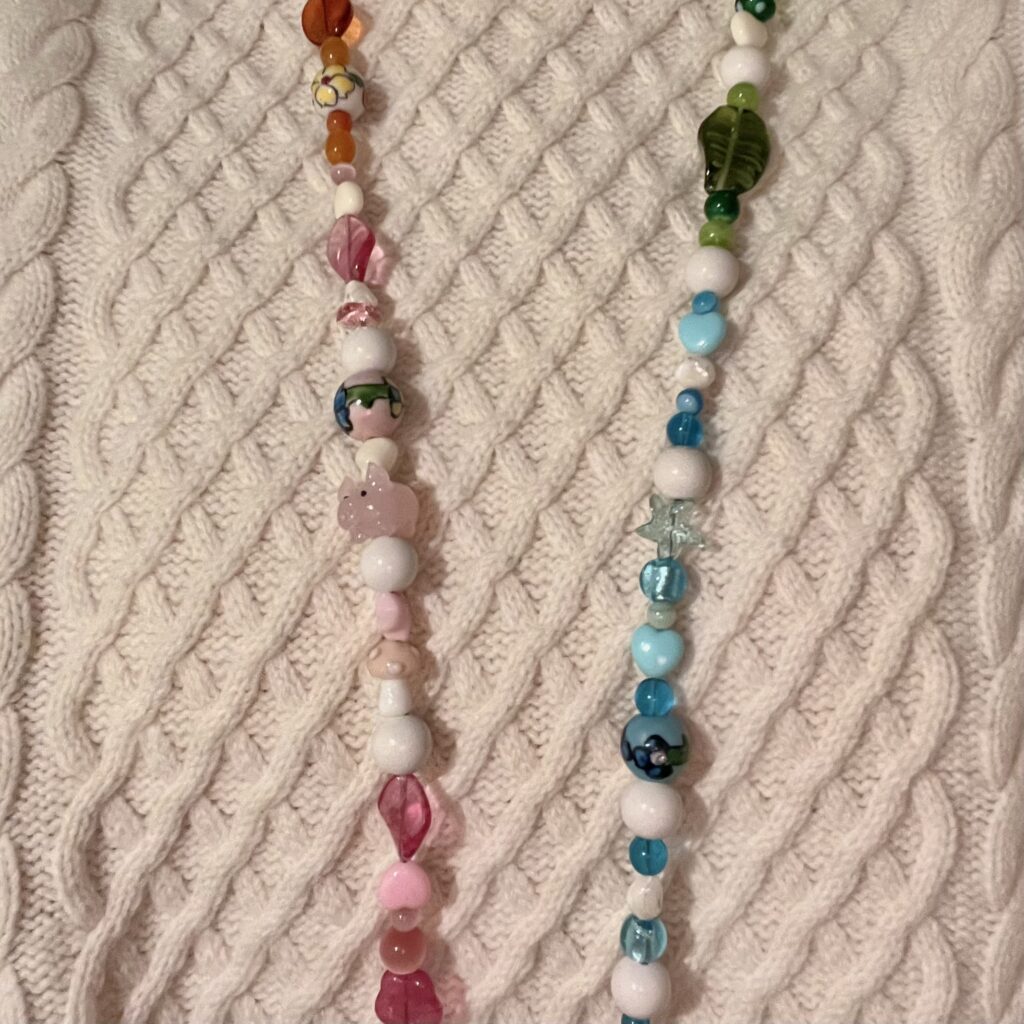
After separating the beads into separate collections of colours, I strung the beads fairly quickly with only minor changes throughout. While stringing the beads, I would select a few charms of different materials to go together, as this created the most contrast in each monochromatic section. I purposely did not blend the colours to create a gradient to accentuate the blocking for a childish appearance.

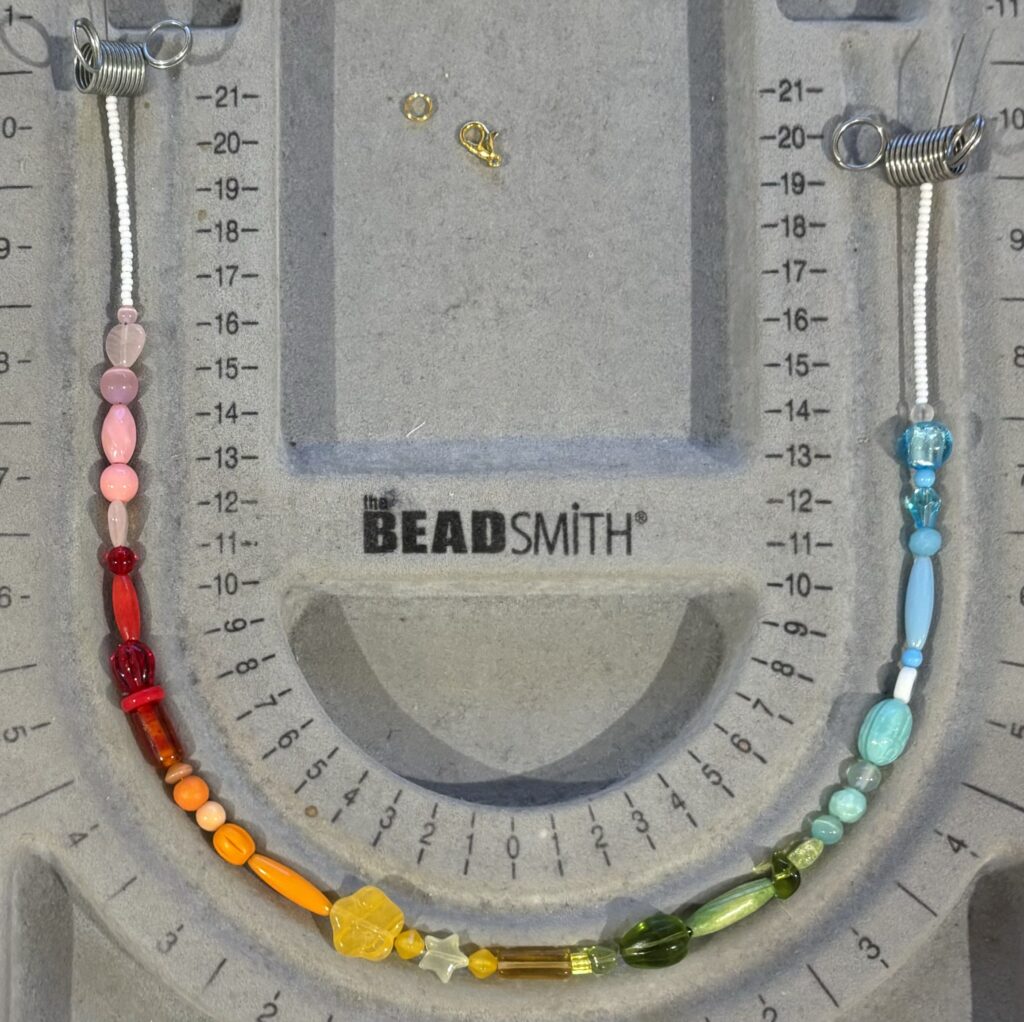
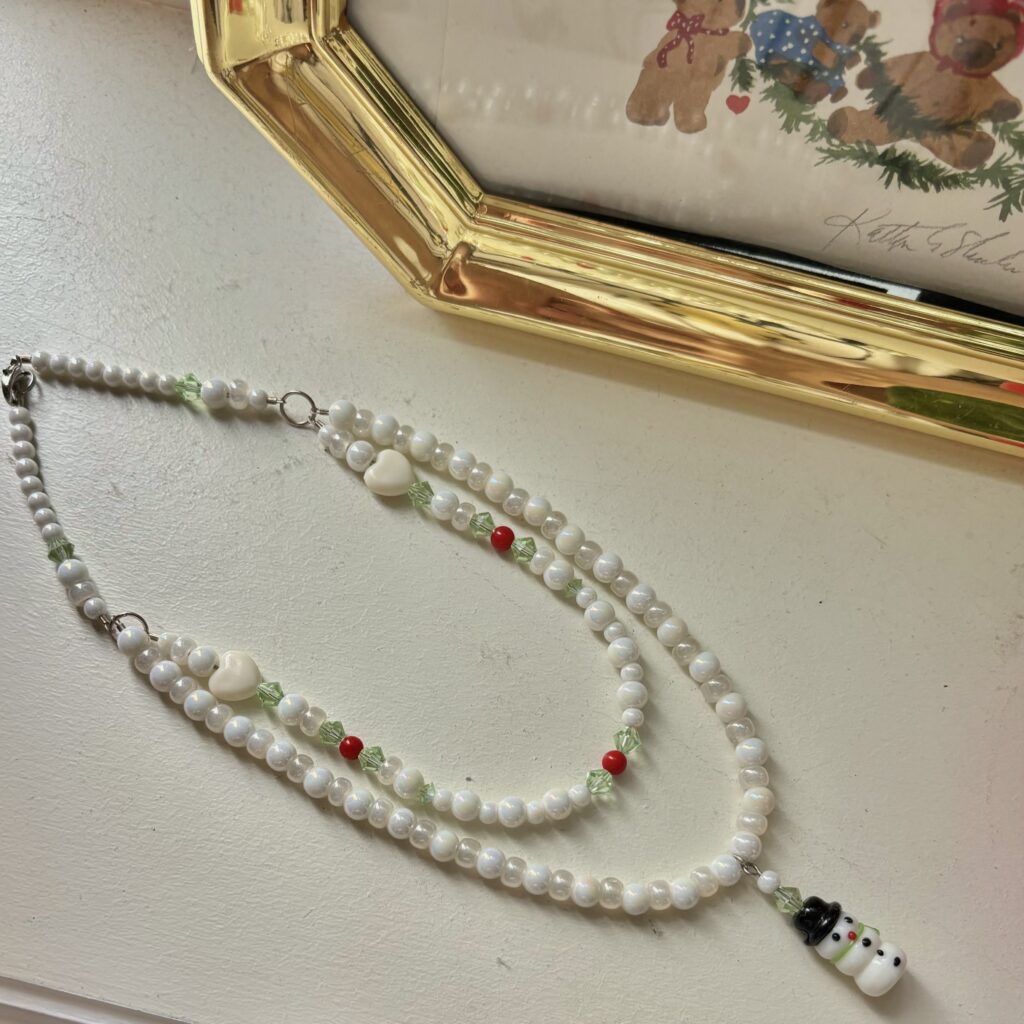
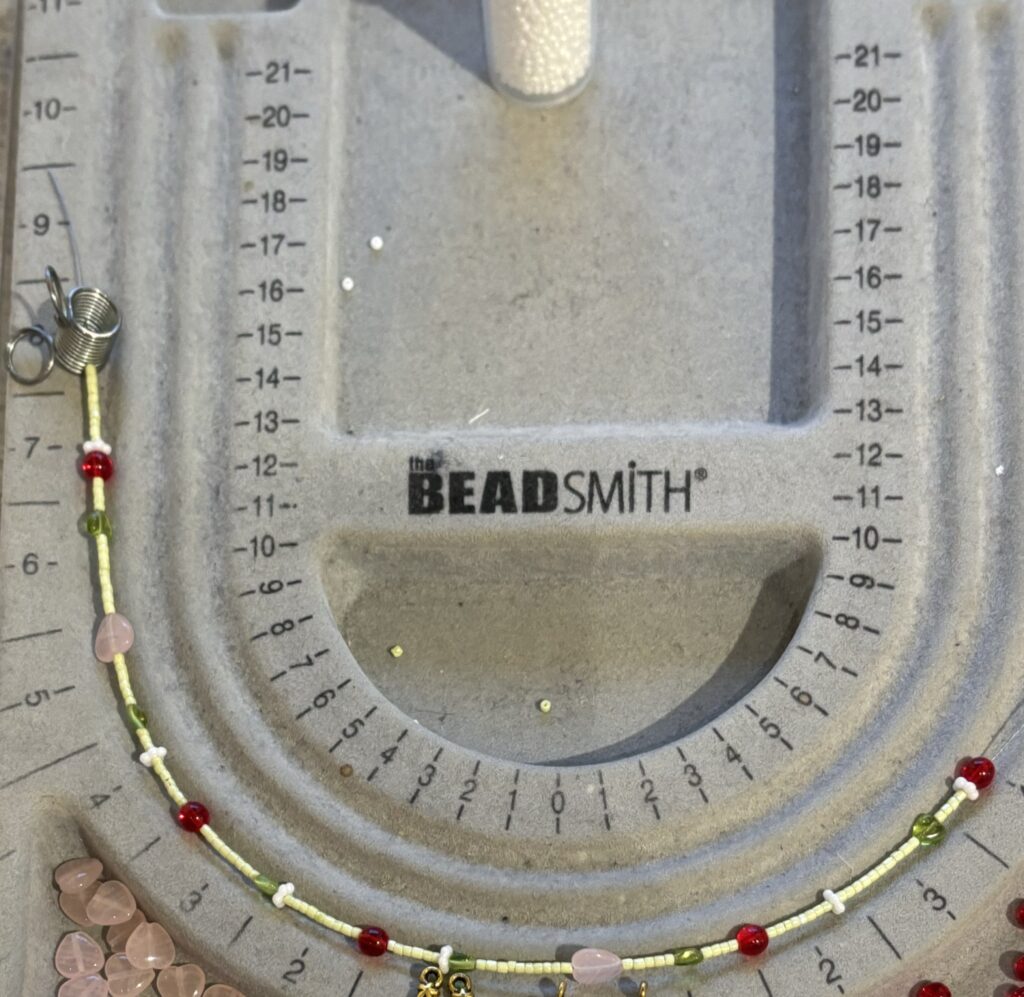
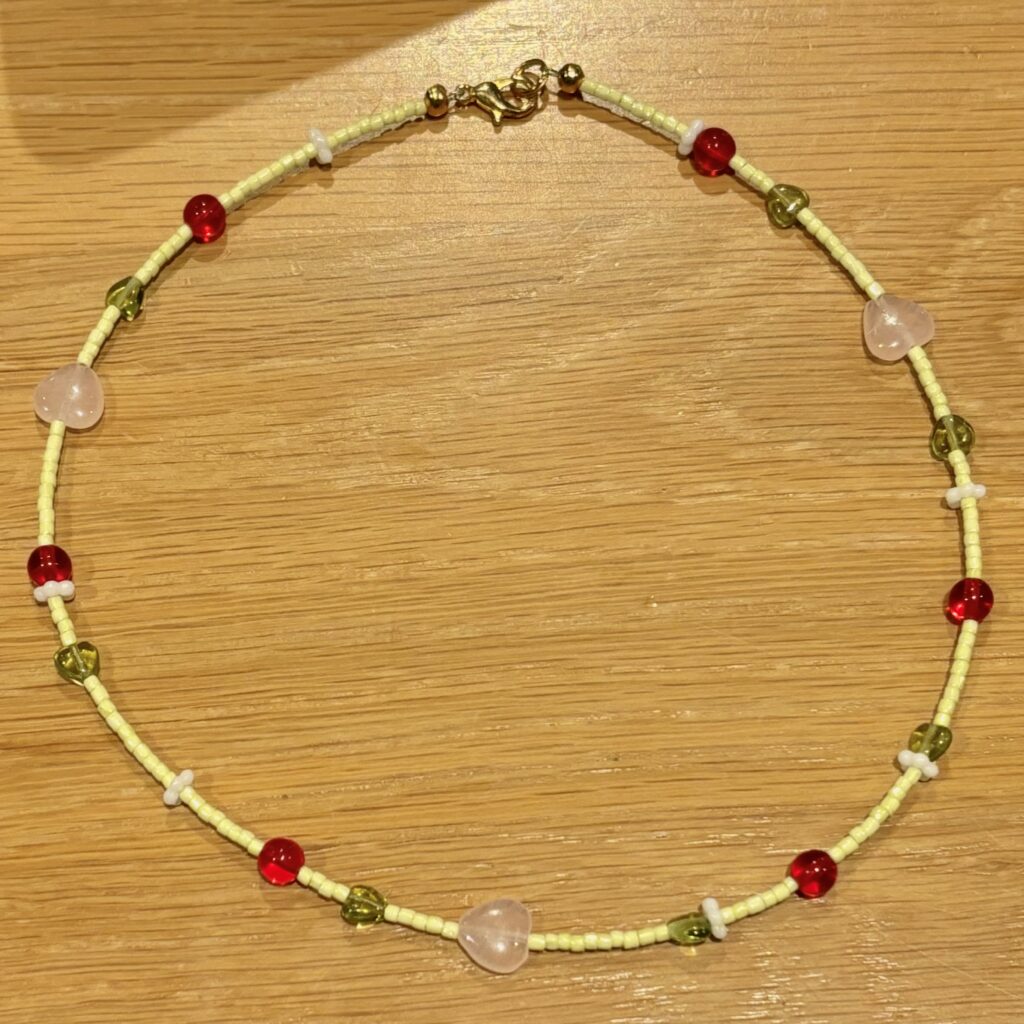
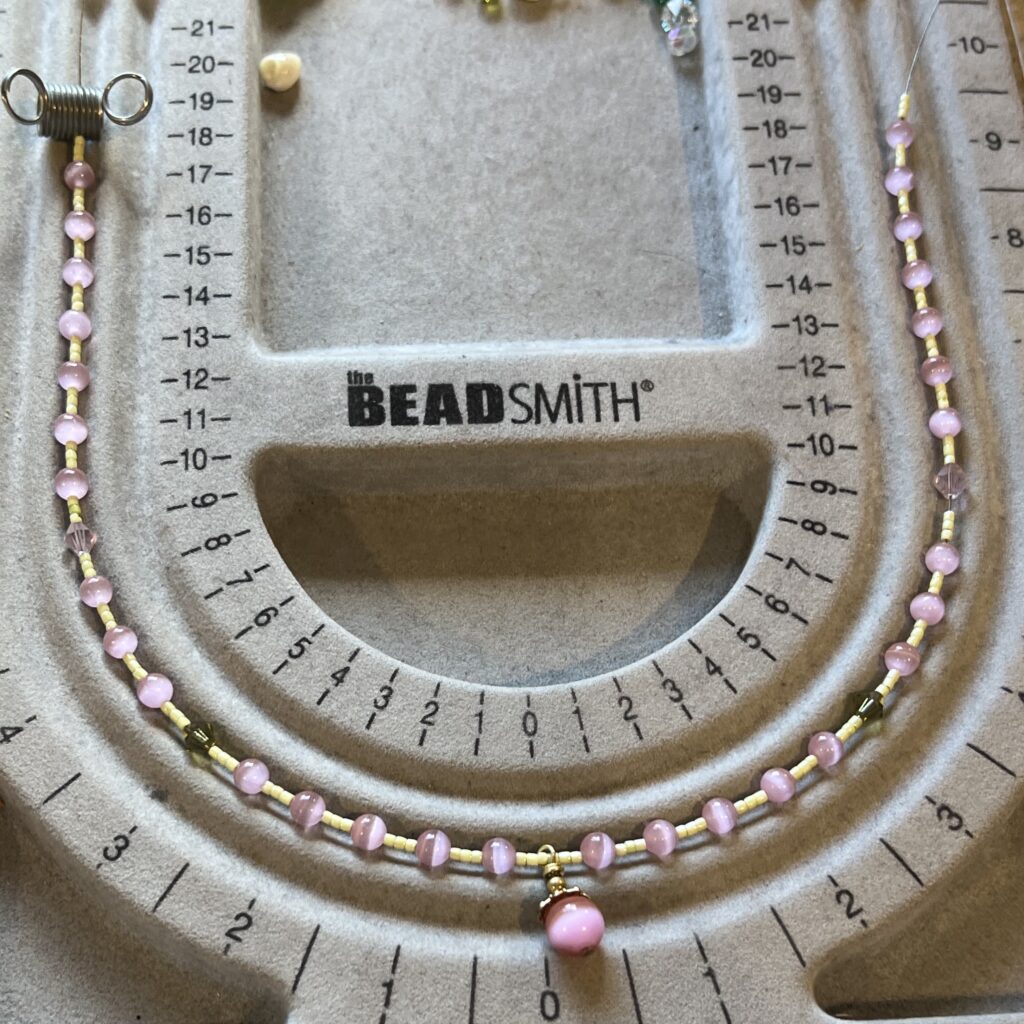
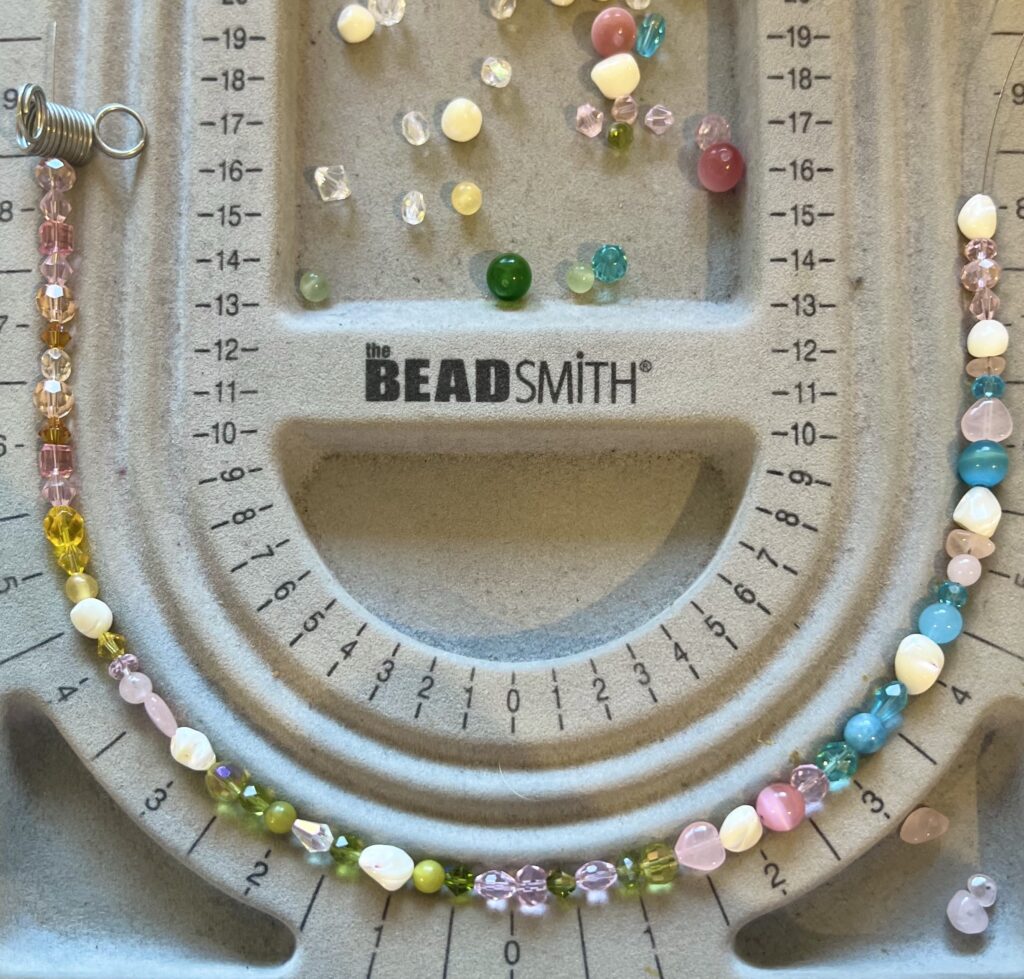
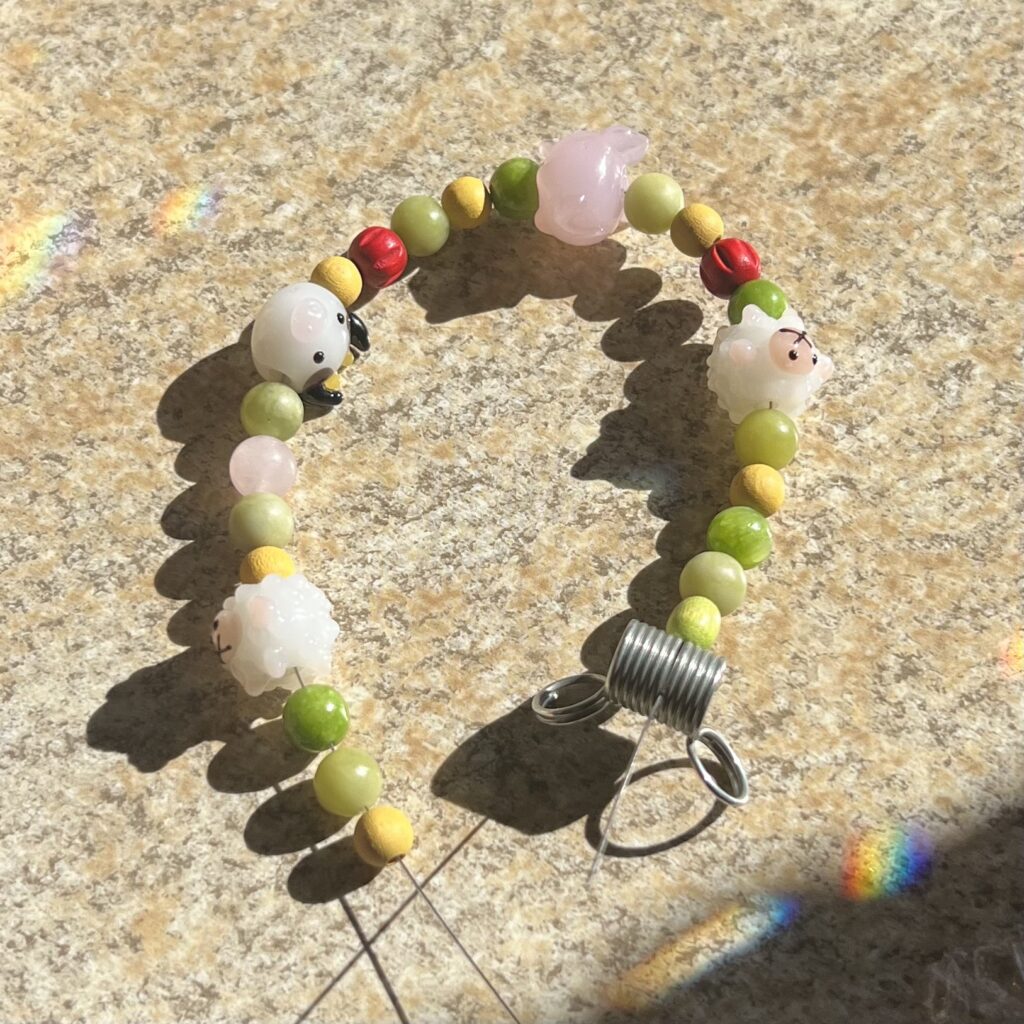
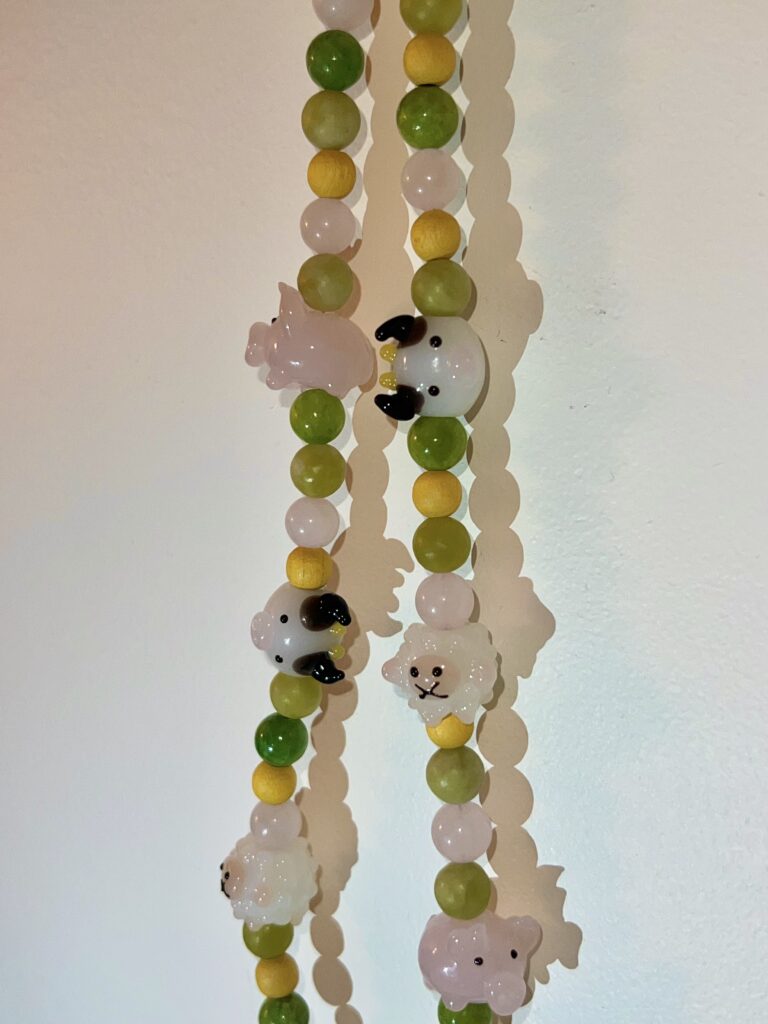
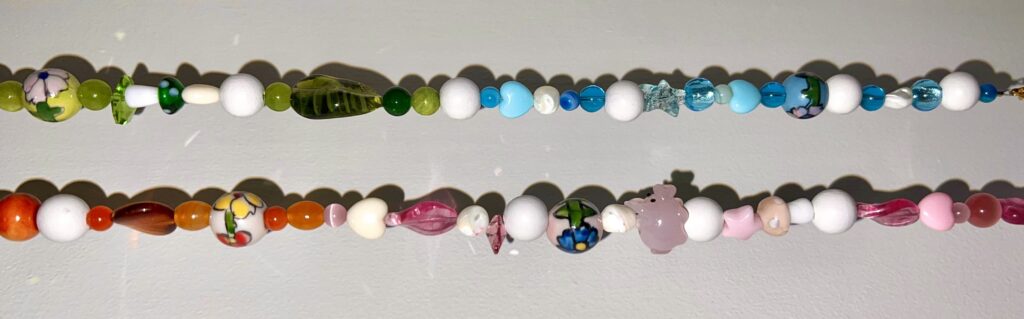
I almost forgot to photograph the process, so here is the nearly completed piece!

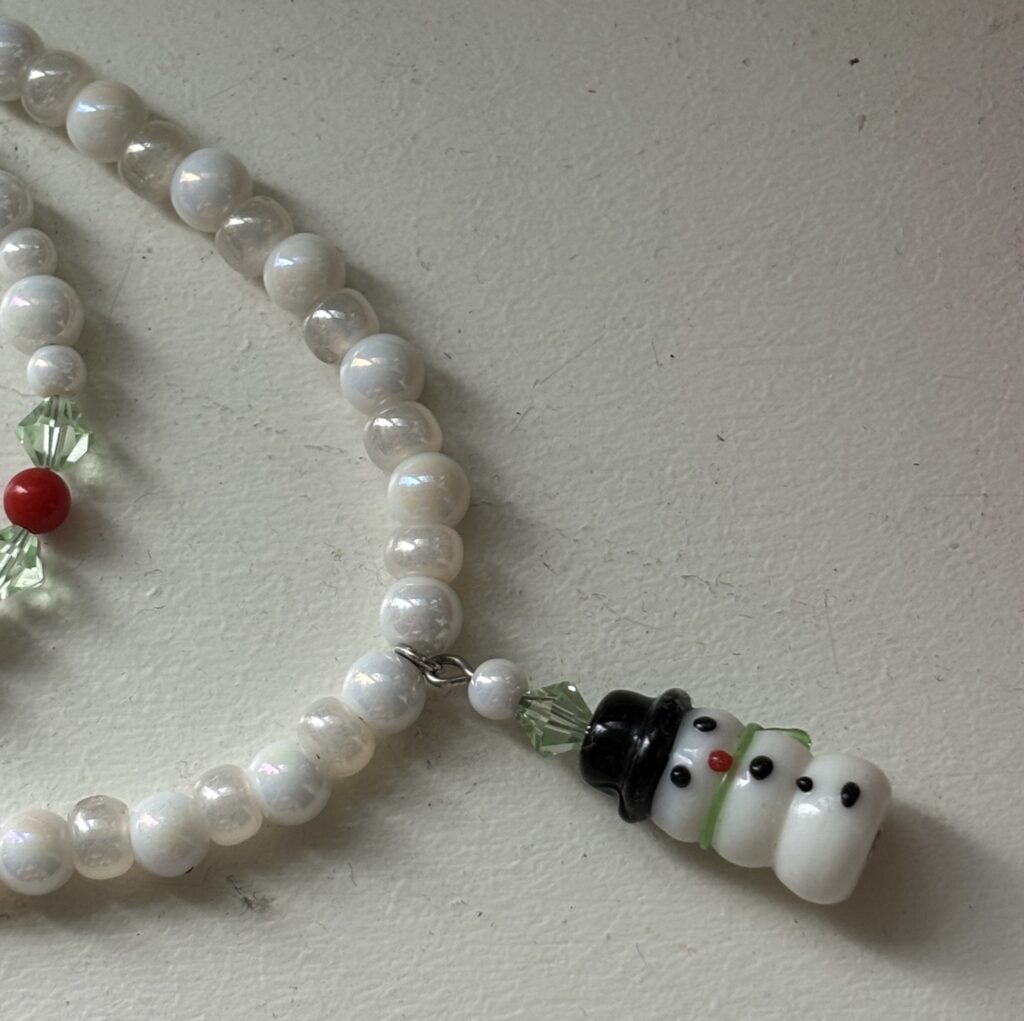
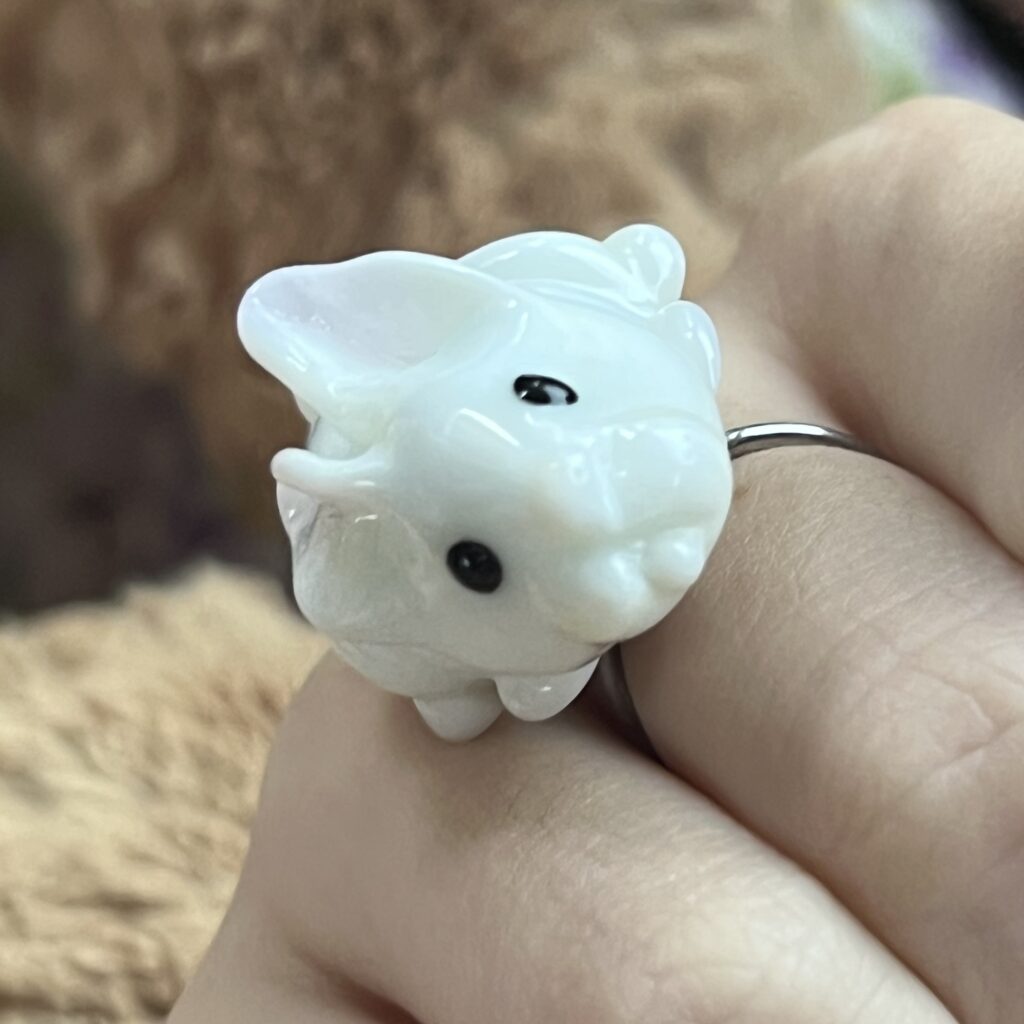
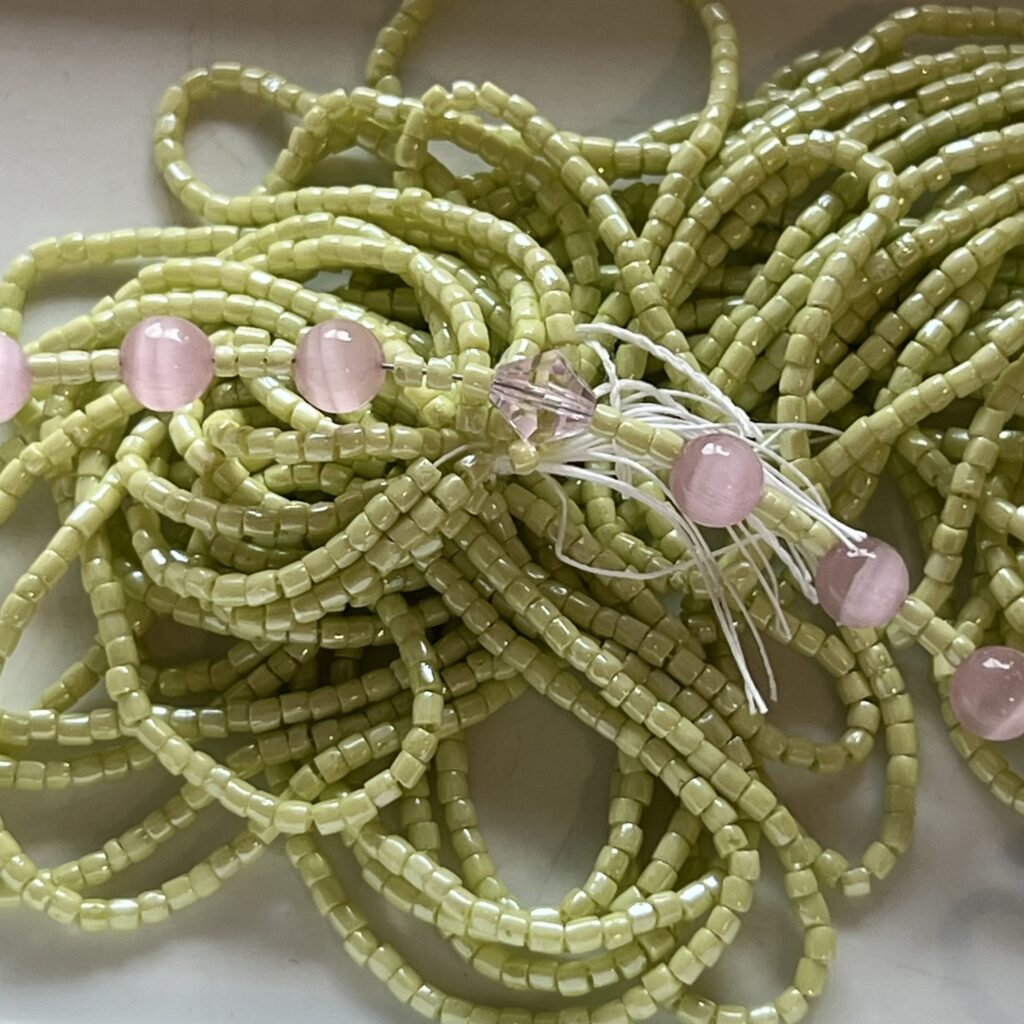
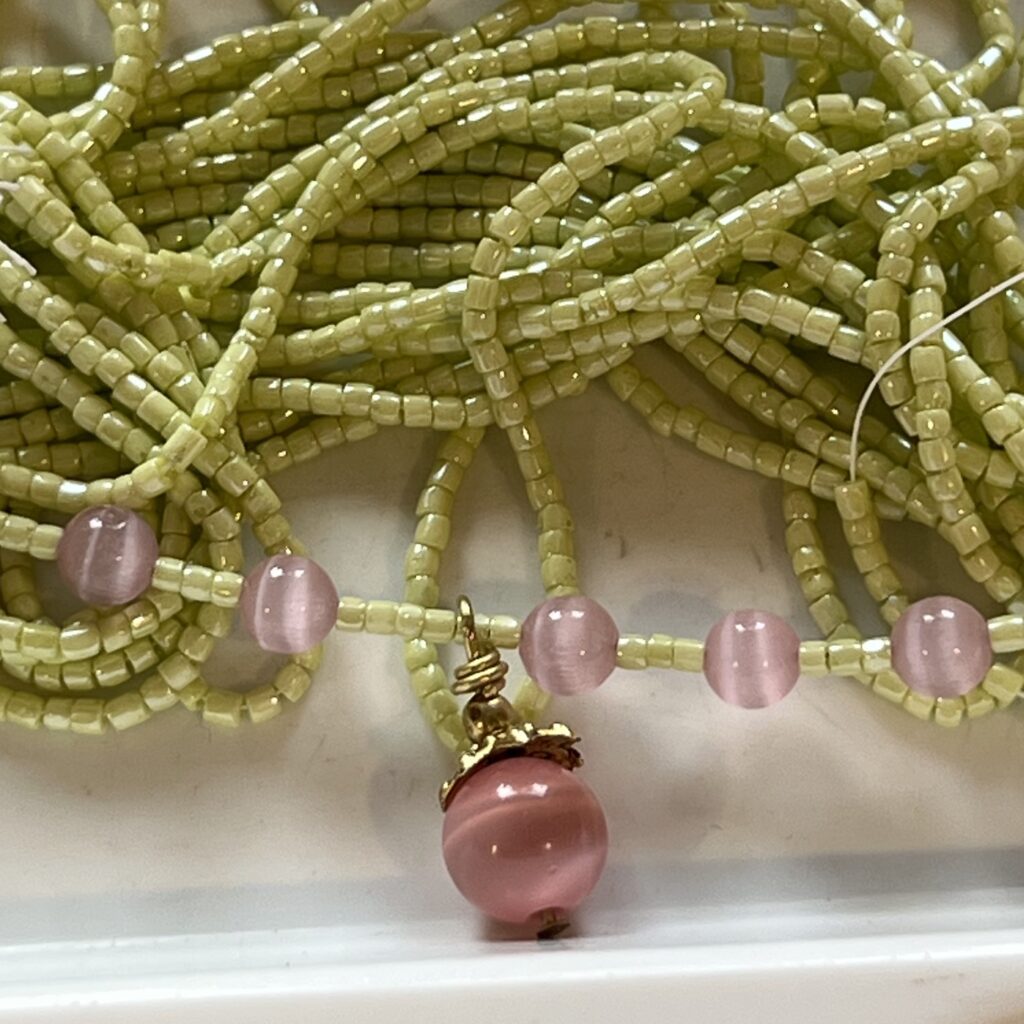
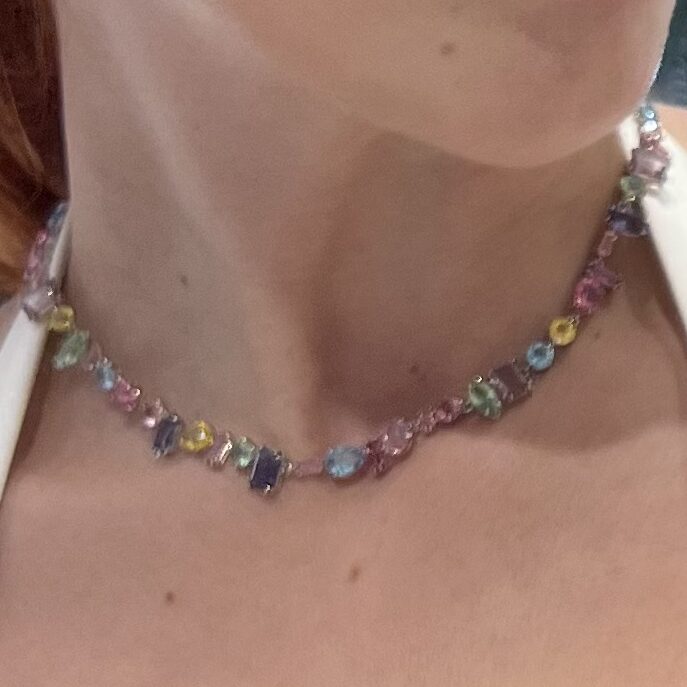
To emphasize the vibrant colours and varying shapes, I strung thirty white seed beads on either side of the wire to create a “frame” that highlights the hues. Playing with the shapes of each bead was interesting, as I was focused on depicting various general shapes to mimic my original sketch—even though the final product features much more complex shapes!

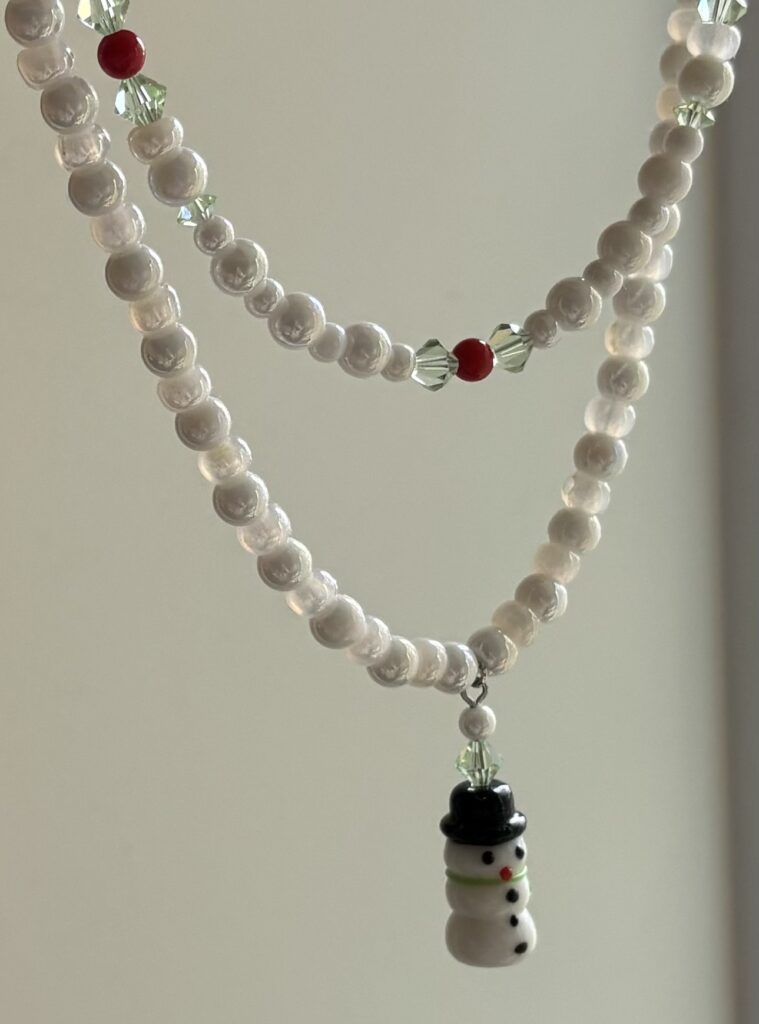
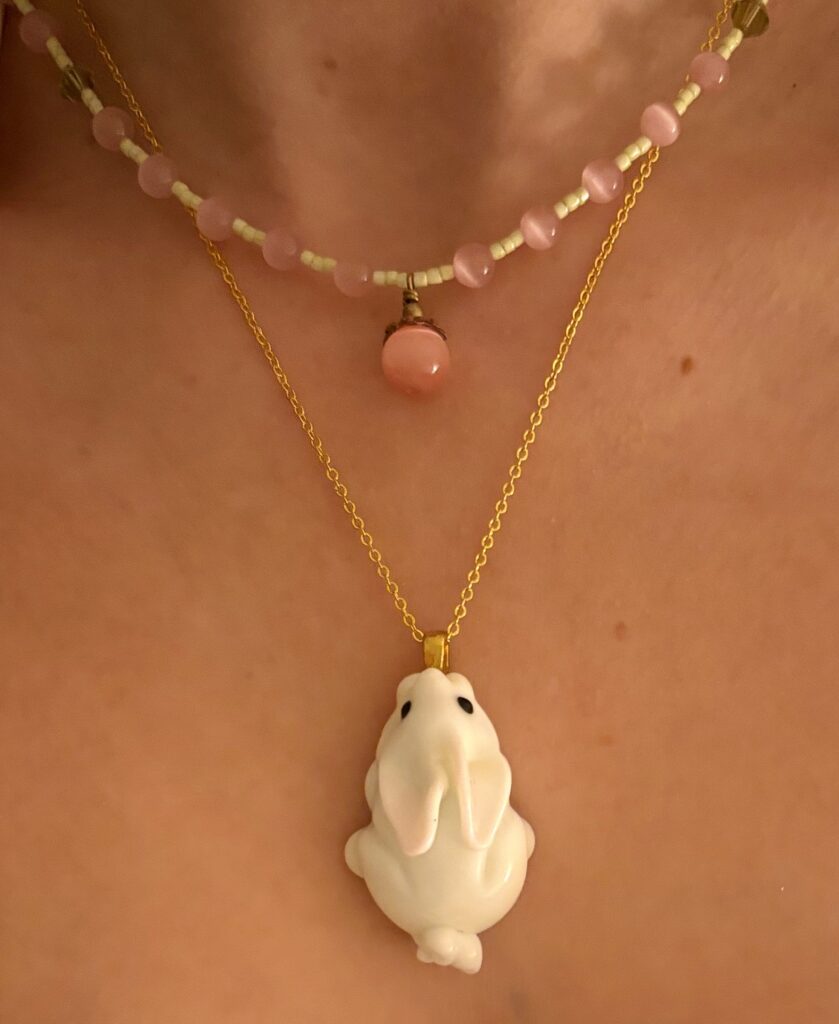
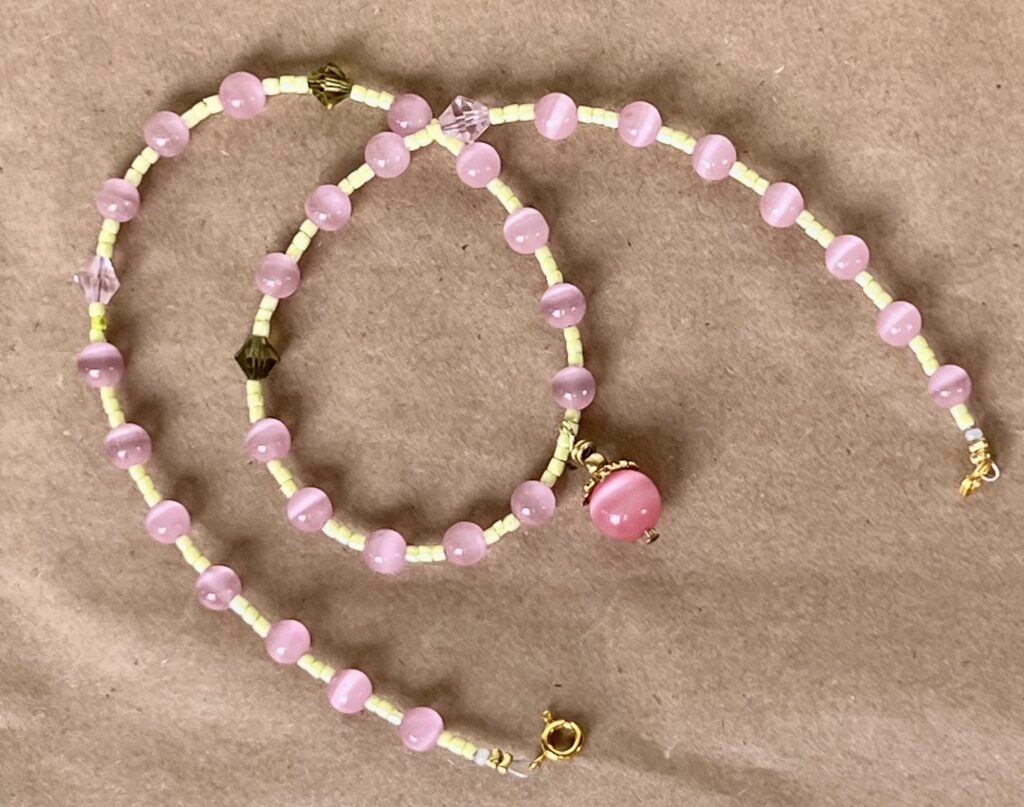
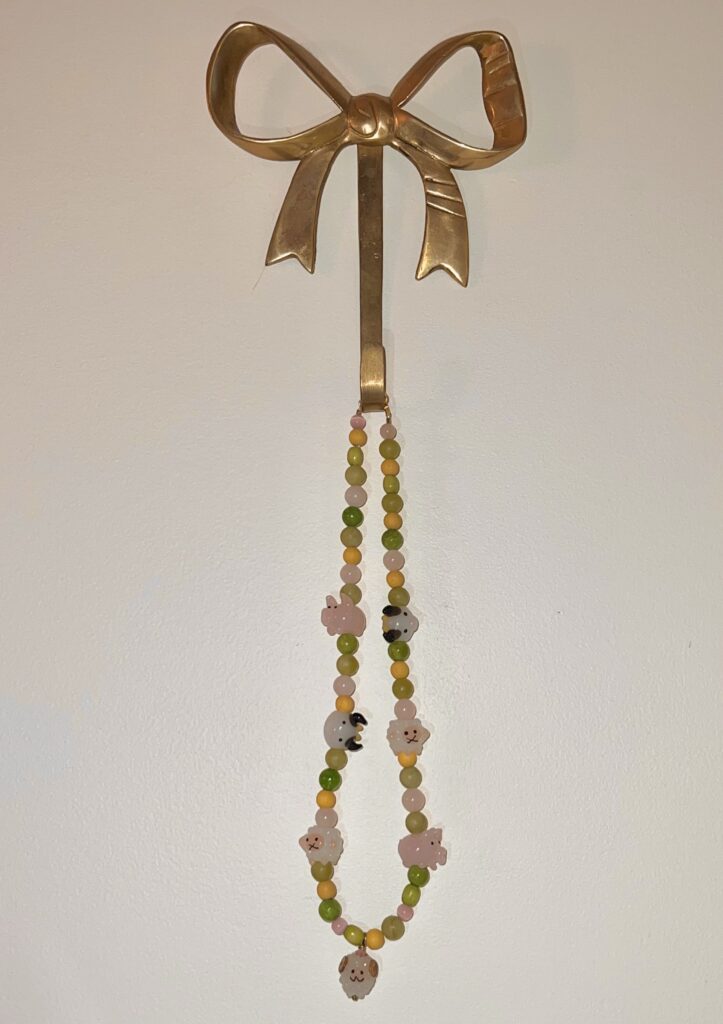
my last piece, finished! (…for now, as I hope to continue making jewellery outside of this course)

snowman necklace & friends

I designed a complex necklace this week, using rings to connect three separate components to form a layered necklace! I sourced this adorable lampwork snowman bead, and aimed to feature him in a holiday piece along with some simple earrings. In contrast to last week, this “set” does not overtly match, though they are both themed for the upcoming Christmas season!

the snowman charm!

I began by sourcing white, red, and green beads of differing materials. I then measured and cut three pieces of jewellery wire of varying lengths. I chose two kinds of round beads to create a simple, monochromatic pattern to depict a snowy “background” for the centred charm. For this main string of beads, I used the green and red beads to make abstract arrangements of holly plants!

the linked pieces

After stringing each wire separately (the back piece and two layered pieces), I connected them with silver loops. I have avoided silver thus far, although I thought silver would be a better option for a snow-themed piece. If I were to recreate the necklace, I would opt for gold hardware to match the oversized earrings! I unfortunately did not capture any photos of my process as I spent a very long time attempting to attach the pieces—this was centainly a project I learned from. 

the finished necklace!

The earrings were much more straightforward to create than last week’s trio of beads and charms. I found these festive gold pendants portraying a Christmas tree and wreath at a bead shop and merely attached some matching hardware!

the earrings!

a cohesive collection!

I finally made earrings! While stringing the beads on this week’s piece, I realized I had sourced some heart-shaped Swarovski beads that would be adorable with the necklace. So, I created some drop-style earrings with a cohesive colour palette to form a simple set.

using the practical paint palette again! As you can see by the eclectic assortment, I had no clear plan for this project!

To begin, I took a trip to the local bead shop and collected various beads and charms. With no inspiration or style in mind, I knew I wanted to use more tedious tiny seed beads as I had many left over from my structured pink and green necklace!

(the small pot still looks this full!)

With the seasons changing, I wanted to mix this warm, pale green with pink, white, and red for a subtle holiday theme. I chose to work with rose quartz hearts, white resin flowers, red glass spheres, and green glass hearts to create a piece using mixed materials.

the process

I avoided counting the seeds to create a more organic layout while keeping a limited colour palette for cohesion. I also cut the wire to 42 cm to create a more fitted necklace to layer the piece with a charm necklace, such as the cat from last week! <3

before and after fabricating the simple earrings

To create the earrings, I designed a symmetrical stack of the mini green hearts and round red beads, featuring the pink heart crystals at the base. After sourcing gold hardware to match the necklace and lots of crimping and looping, I completed my first (successful) set of earrings!

This set was so fun to make as I did not design it before gathering the materials, and once I started stringing the pieces, I didn’t even have the thought to add or remove any beads! I would love to create an entire collection using these colours—possibly a bracelet and more earrings?

here is the necklace!

small business appreciation <3

This week, I wanted to highlight a small jewellery-making brand. The owner of Picnic Blanket Jewellery, Katie, creates her own adorable glass beads, from little guinea pigs to seasonal pumpkins! She describes her business as “Bespoke, handcrafted glass jewellery,” which I can agree with, as I love how none of the beads are the same due to their handmade qualities. Learning the process of lampworking and jewellery making in its entirety has made me view this craft with much more empathy and appreciation! 

A few of her recent animal beads!

I ordered a matching set of handmade earrings and a pendant necklace depicting a little orange cat—view my “About Me” page for my adorable muse. I was happy to support a growing business while gifting myself these fine pieces. She often posts videos of her creations, which has inspired me to engage in additional research into the craft of lampworking beads. Luckily, she discloses this process on her shop’s website: “Each lampwork feature bead takes up to half an hour to delicately form by hand in the flame and reaches temperatures up to 800°C, before heading to soak in the warmth of the kiln for over 6 hours where the annealing process strengthens and ensures longevity of the finished bead. Once cooled, the beads are then carefully removed from the mandrels which they were formed on. They are then individually washed, reamed, cleaned and polished all by hand, before moving to the studio bench where they are crafted into finished pieces, with the total process taking 2 days to complete from start to finish.”

here is the same necklace that I ordered from her. I particularly love the small gold spheres throughout the gold-filled chain!

There are many more beads listed in her shop, included in various seasonal collections, bracelets, earrings, and custom pieces where you can submit photos of your pet for her to design and create as a charm!

these are the earrings I ordered!

While I do not wear the sizeable earrings often, I find myself regularly wearing the charm necklace in combination with one of my own beaded creations. I am sure I will be purchasing more pieces from her and other creative sole proprietorships in the future.

Thank you for reading this appreciation post <3

jewellery comes in all shapes and colours!

After working with last week’s charm, I began thinking of ways to create something out of much larger beads than I am typically comfortable with. In sourcing larger materials, I found a shop that offered semi-precious stone beads of various shapes and sizes! They displayed some pieces using grape-like stones throughout.

the “grapes” in question…

While I do not have a picture of these necklaces, they look similar to the one I created—but in black, red, and blue variations! I tried on one of the oversized necklaces for fun, and realized I appreciated the fruit-sized stones. However, I was so used to small, dainty necklaces that wearing such a heavy necklace felt odd.

this thought made me want to create a piece with the giant beads even more, as this feeling reminded me of a poster I have in my home <3

I measured how many large beads I would need and bought enough round glass beads to fit between them. While stringing the necklace, I realized that I wanted a higher contrast between the stones and supporting beads. To fix this, I picked out some irregularly-shaped pearl beads to go between the “grapes” instead.

(replacing the supporting beads)

This was probably the quickest necklace I have ever created. The only hiccup was the alternating beads, but I finished it in about 10 minutes! I cannot say I have worn it every day, but it’s nice to have a different piece in my jewellery collection. One that isn’t very dainty and made out of primarily glass beads! I can see this necklace in many different colours, and I love how the beads are semi-precious stones, as they all have their own natural pattern! 

held up to the sunlight, you can see their unique details!

repurposing broken jewellery

A few months ago, while visiting the shops of Old Montreal, I came across an unusually large glass bunny sitting atop a silver ring. While this oversized charm wasn’t something I usually gravitate towards, I loved the handmade quality of this imperfect piece.

the bunny ring!

After wearing the ring for a few weeks, it broke off the sterling silver band, releasing the charm from the dried glue. It felt bittersweet since I was sad that it had broken, but I also struggled to comfortably wear such a heavy, unconventionally-sized ring in the first place.

So, I immediately began thinking of how to reuse the adorable piece, since the bunny itself was still intact! I always aim to encourage repurposing, reusing, and recycling, especially with an adaptable craft such as jewellery making, so this was another opportunity to do so. As I mentioned in previous posts, you can make a bead out of almost any material!

photo by clever sparkle on Unsplash

Restoring this piece was much simpler than I had envisioned. I was worried at the thought of having to somehow drill into the glass to connect the charm to a chain. A bead shop owner told me that I could instead use E600 glue to attach a flat bail at its mouth so it would hang facing me! I took this amazing advice, chose some gold hardware, and let the permanent glue set for a few days. Finally, I compiled everything to create a necklace featuring the bunny as the centrepiece.

here is the bunny as a necklace!

creating pieces with family <3

This week, I decided to test my patience by working with very small beads…and my younger brother. I’m often drawn to larger, more detailed lamp-worked beads, so I was excited to handle these easily breakable pieces.

I sourced these light green seed beads labelled “pale avocado vintage beads” at a store downtown that sold them in bulk inside a plastic container. (On a side note, I dumped out the pot of beads when I started stringing them…do not make the same mistake as me.)

here are some similar seed beads!

After sifting through several thoughts of various pieces I could create with these tiny cylinders, I ended up sticking with what I was comfortable with = necklaces! One of the ideas was to re-create a bow-shaped set of earrings similar to the pair below! While I love these, I quickly realized how ambitious this would be since I have only made one pair of earrings with the help of a professional jeweller maker to assemble them. One day, I may construct these earrings when I have more time!

these earrings are much larger than I was envisioning, but you get the picture!

The avocado-coloured beads were still very finicky to work with, even for a simple necklace. I used them alongside larger round pink glass beads. To avoid a predictable pattern, I broke up the order of the beads, using Swarovski crystals in angular, faceted shapes. 

using a tray to organize the seed beads was essential!

Since I had yet to learn how to manipulate the wire to create shapes with the miniature beads, I needed to find an alternative centrepiece for the necklace. While browsing another bead shop, my brother found this golden “hat“ to fit above a charm. So, I used this cap with a slightly larger version of the pink round pieces to attach the two together! 

the completed charm

In connecting this process to an earlier statement about how this craft can be a beneficial activity to “[build] connections and memories with family and friends…” I created this piece with my talented little brother while he was visiting from Vancouver. While he was with me, he made two adorable bracelets. He picked out all the beads and strung them on elastic in the order of his choosing. I helped him with the more technical sides of jewellery making—measuring the elastic string and closing it off—so he could enjoy the imaginative aspect of the activity. He loved it, and I loved that we now have another creative activity to do together!

I couldn’t capture his second bracelet before he ran off with the finished piece, so imagine a bright blue arrangement of beads with several dolphins throughout.

Since my necklace included neutral colours (in my personal palette), I can see myself wearing this often, layering it with charm necklaces. Overall, this piece was about the creative experience with loved ones <3 

the finished necklace!

the gema necklace: inspiration vs imitation

Over the summer, I came across a multicoloured crystal necklace displayed in a shop window. I immediately felt this piece of jewellery was tailor-made for me—a colourful, chaotic variation of the classic tennis necklace. The original piece is from Swarovski’s Gema collection. After learning its name, I did some further research on the organically-shaped, vibrantly coloured crystals. I reluctantly and carefully unclasped the jewellery and began planning to create my own beaded version!

me wearing the original necklace for reference!

I only recently sourced some smaller Swarovski crystals of congruent shapes to create an interpretation of the original necklace. I still wanted to keep the irregular, asymmetrical flow throughout the piece. I mixed these “perfect” crystals with natural pearls, glass beads of varying shapes, and rose quartz stones. One of the local bead shops provided a classic paint palette to organize various beads in whichever way you want—I loved this idea! Utilizing this paint palette with the beading tray made the process easy, quick, and organized. 

a few of the beads I picked up for this project:)

Another change I made was instead of randomizing the colours, creating an eclectic array of hues—I opted for a more organized gradient of colours, sprinkling pink throughout as a neutral. Adding a neutral tone to a piece is beneficial for creating balance, and this colour will vary depending on your aesthetic tastes and wardrobe. I chose this light pink since I often wear a variation of this shade!

after finalizing the arrangement of the colours

If I were to remake this piece, I would implement more unusual hues and shades of each colour for more dimension. Even though I will never replicate this necklace exactly, I am happy with the final product! Like my rainbow lanyard, I love how this necklace exhibits colour and interest from all angles.

the final piece!

reviving an old painting: with animals!

Hello! This week, I decided to turn an incomplete, abandoned artwork into something new. While this was not technically repurposing, it felt like an emotional version of recycling a “failed” project. A few months ago, I started an underpainting of sheep in a meadow. Of course, I stopped at white blobs on a green-brushed background. I love animals, so I assumed this piece would motivate me to get back into the habit of painting when I felt I needed a creative outlet. Painting is very intuitive for me. I rarely use reference photos as it’s more about the fun I have during the process. However, now that I have fallen out of the routine of using this medium, I think the hardest thing is getting the paint on a blank canvas. While I lost the motivation to finish this painting, I wanted to create something less daunting with these adorable animals!

A close-up of my wildly unfinished painting of “sheep” in a “meadow”…

Since I had quite a specific theme for this necklace, I had to source a few particular beads. I thought I would go to one of the numerous bead stores around town, but I knew none had the little animal-themed beads I was looking for. After some research, I found the best place to source them is Etsy! This website is the best place to find handmade, high-quality beads with fast shipping. I wish I could make these adorable glass beads by hand, but I unfortunately don’t know lampworking yet. Maybe a project for the future!

Here are the cute beads from Etsy and Michaels!

This necklace was definitely a practice in patience. I started building this piece without a plan, with just a few farm animal beads and wire. I was unhappy with the first version I strung…and the second. I was finding it hard to find the “perfect” supporting beads for these specialty charms. So, I unstrung the whole necklace, chose a new colour palette, and tried again. The third time, as they say, was the charm. I was finally happy with the final colour palette and materials I used. It wasn’t perfect, but I didn’t care. This ability to easily revise the layout and design of a piece is one of the things I love most about jewellery making.

This is my second attempt… my first try was not very photogenic…

Here is the colour palette that I landed on! I found that these “beadsmith” trays are super helpful in planning the arrangement of the beads.

To make a “centrepiece” for the necklace, I strung my bead onto a small pin with a stopper. I then added some tiny colourful beads to keep the sheep from slipping off the pin.

I ended up switching the support beads, yet again, and crimping the loop sideways so that the little sheep could sit facing forward!

This project allowed me to practice patience and gave me a sense of accomplishment for persevering…unlike my painting. This piece might not be profound, but the trial-and-error process was enjoyable. I wanted to demonstrate how inspiration in this medium of expression can come from anything. It doesn’t necessarily have to be super meaningful or powerful. I found that this type of jewellery-making can act as more of a lighthearted activity in comparison to painting, which can often be an emotional experience. Anyway, here is the final piece, I may open the clasp and restring the entire necklace again one day, who knows!

the first piece: a rainbow lanyard!

Encouraging creativity in students is one of the most important aspects of incorporating jewellery-making into the classroom. In my capacity as a student teacher, I chose to do this in the classroom through my own example. Instead of keeping the standard fabric lanyard for my nametag, I saw a chance to have some colour and fun in the classroom on Wednesdays! I created a rainbow, beaded lanyard, specifically with the idea of fostering the imagination and originality of the students. 

This project seemed like a relatively small detail to my Link2Practice days, but the students immediately noticed my new and improved lanyard, saying they liked my necklace. Many of them pointed out the different colours and charms, usually the little glass pig!

this is the cute little bead, from Michaels

The lanyard is made out of a mixture of glass, stone, plastic, wooden, and ceramic beads that I sourced from several different places over the course of a month. I didn’t want to limit myself to only one material for the lanyard, because it was important to me that it was dynamic and interesting to look at. I also had to keep the weight of the piece in mind, as I would be wearing it for the entire day. I chose the varying beads with an organic pattern in mind, using only the colours of the rainbow as a guideline. I was excited to create a piece that would be viewed primarily by the students, as it gave me an excuse to string the lanyard with any size, shape, and material of charm I wanted. I find I like the jewellery I wear in an everyday setting to be more refined and, while still colourful, more dainty. However, designing for a child’s eye comes with less self-judgement and encourages more creativity.

It was essential to me that the lanyard was a rainbow of colours. As I couldn’t limit myself with materials, I also didn’t want to limit the colour palette! I have a vision of how my future classroom will look, demonstrated by the resources I’ve already created, and I designed the lanyard with this vision in mind. The importance of children’s exposure to colour goes beyond my aesthetic taste. Colour, in any setting, fosters an engaging and vibrant environment that enhances creativity, imagination, and cognitive development. Specifically in a classroom, using a variety of colours promotes active learning and a positive emotional connection to their place of education. Many studies explore this topic, and I encourage you to do your own research on the connections and importance that colour has in our lives! 

photo created on DALL • E

Before creating this piece, I knew I wanted to use some specific charms, such as the beloved pig and painted ceramic beads, but I had no exact layout to work with. After trimming a piece of jewellery wire about forty inches long, I strung the beads with a temporary spring-clasp on one side, starting with pink! I worked my way to blue, using white beads throughout to break up the saturation and make the transitions smoother. 

I would often take a break, holding up the string of beads to make sure I liked it. When I wanted to change something, I just removed a few beads and re-strung them in a new order. This process sounds very mundane and tedious, but seeing this piece come together was so fun and motivating for me. After attaching the clasps, I put the lanyard on and wanted to wear it everywhere, even outside of the classroom. I loved creating a piece so personal that I am able to share with my students and classmates every week! I closed off the lanyard with two lobster-style clasps to attach to my nametag. It is easily detachable, which means I could always make more. I am already thinking of more opportunities, friends, and holidays to make lanyards for!